How to use the advanced online classroom features
This section demonstrates how to access and use the advanced features of the video classroom.
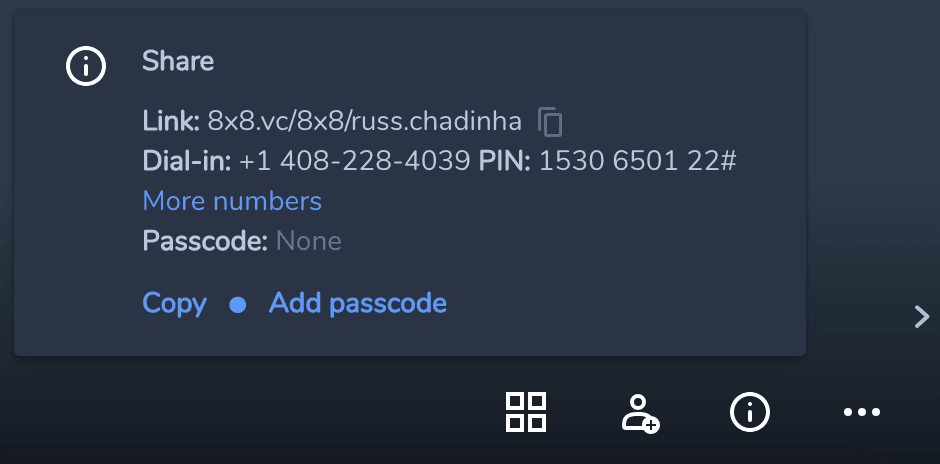
To set a passcode for your video class, click on this icon located at the bottom right corner of the screen:
Now the meeting information is displayed:
Select "Add passcode"
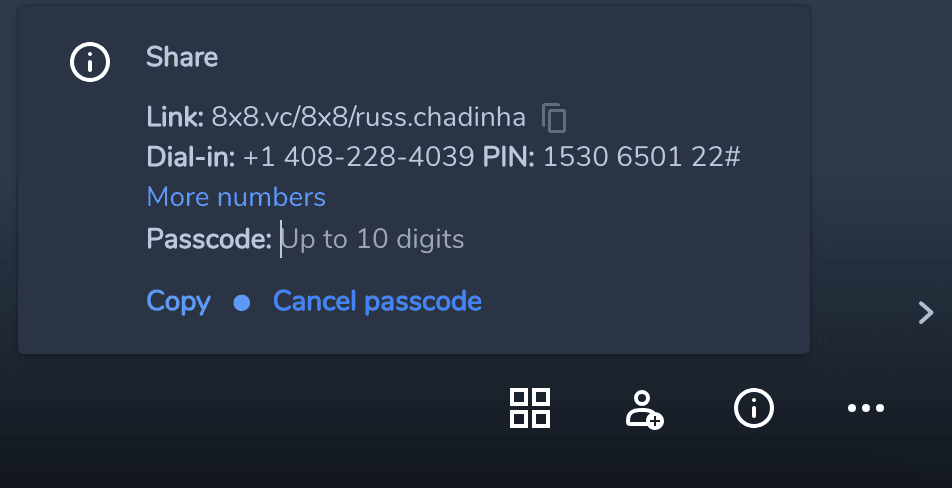
Type in a passcode for your video class. Note, passcodes can be up to 10 digits. Press "Enter" after typing in the passcode.
Additional details for setting passcodes can be found in this guide Passcodes for video classes.
Use Settings to adjust any devices, update your profile name, change the default language used for displayed text.
Click this icon in the lower right corner of the screen, to access Settings:
The menu will be displayed:
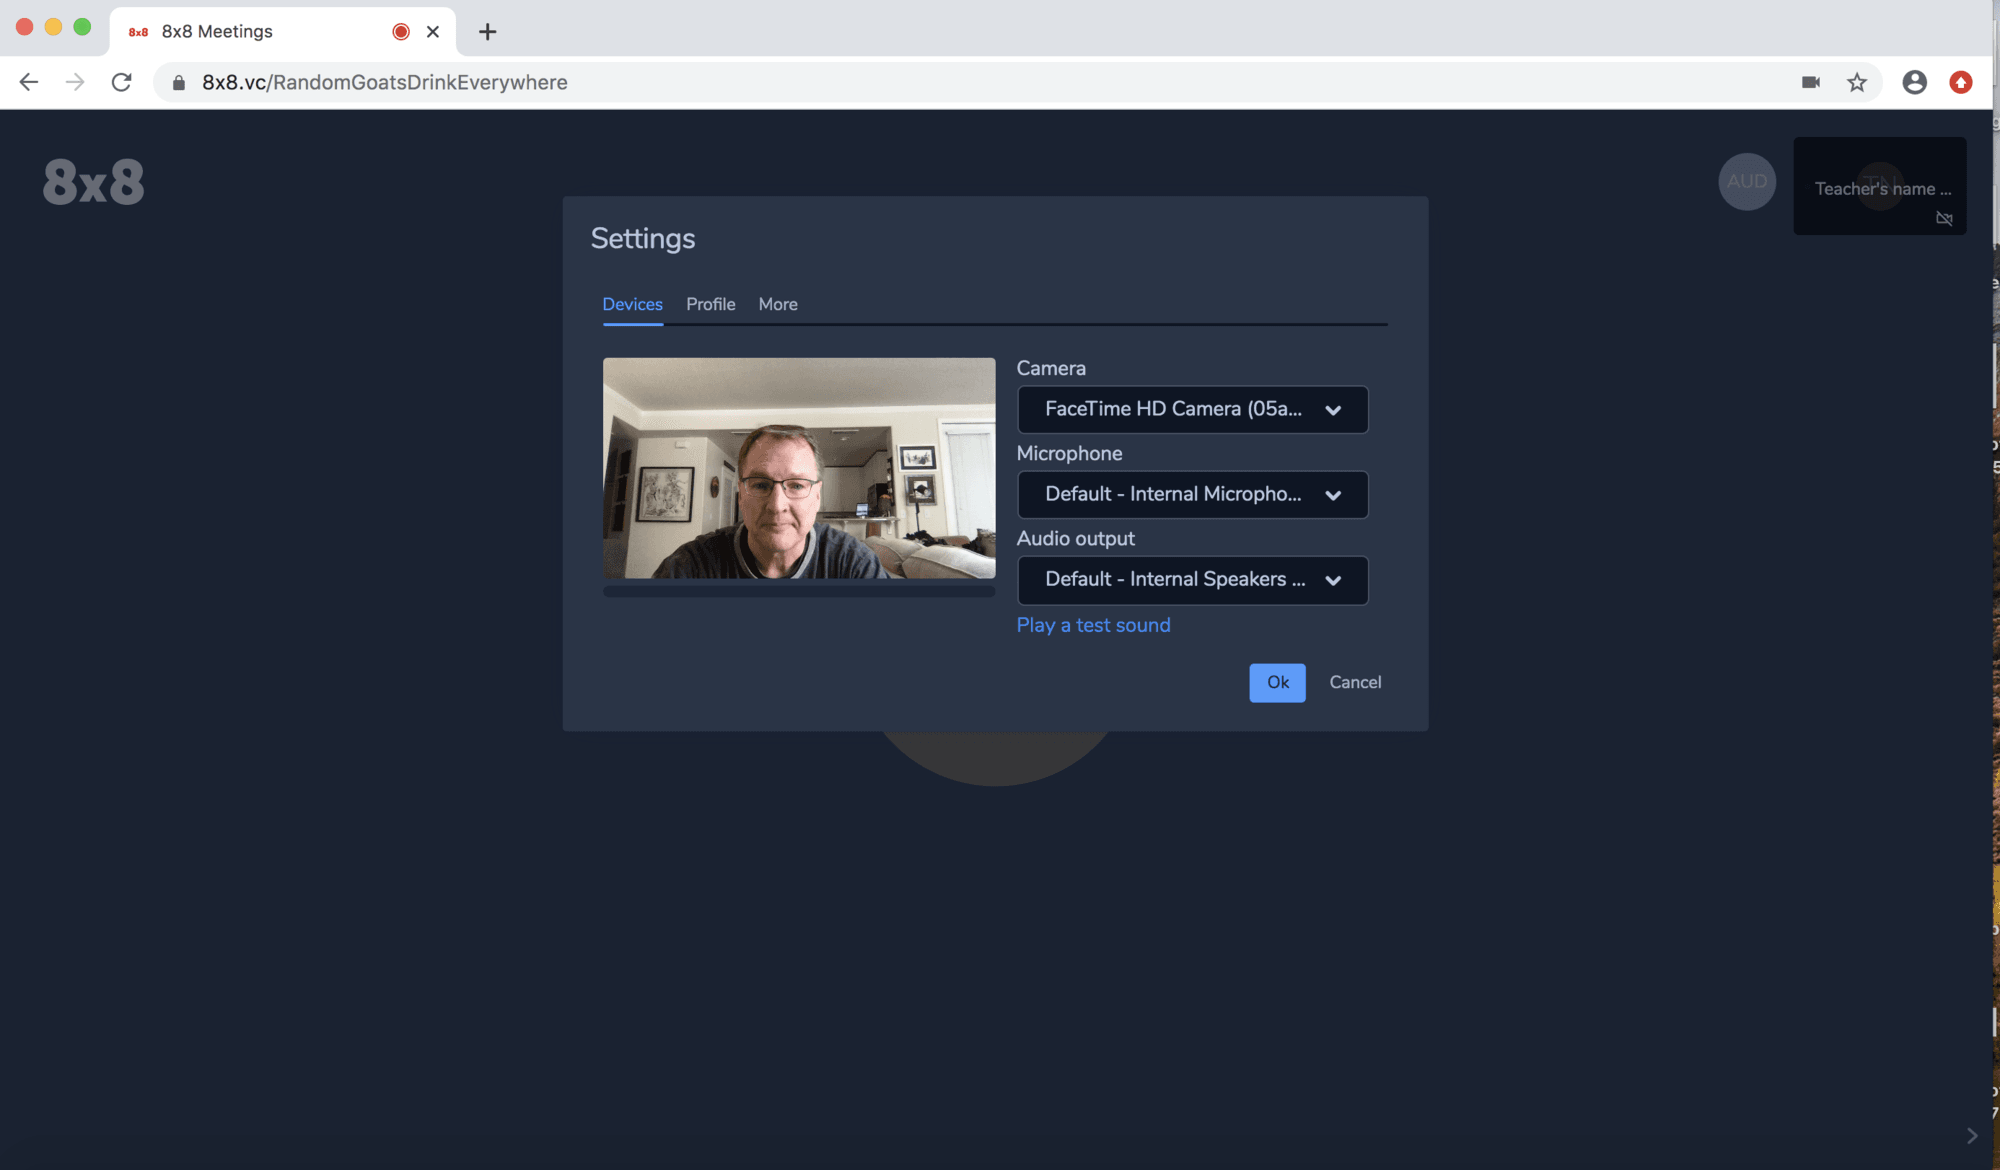
Select "Settings" to start making adjustments:
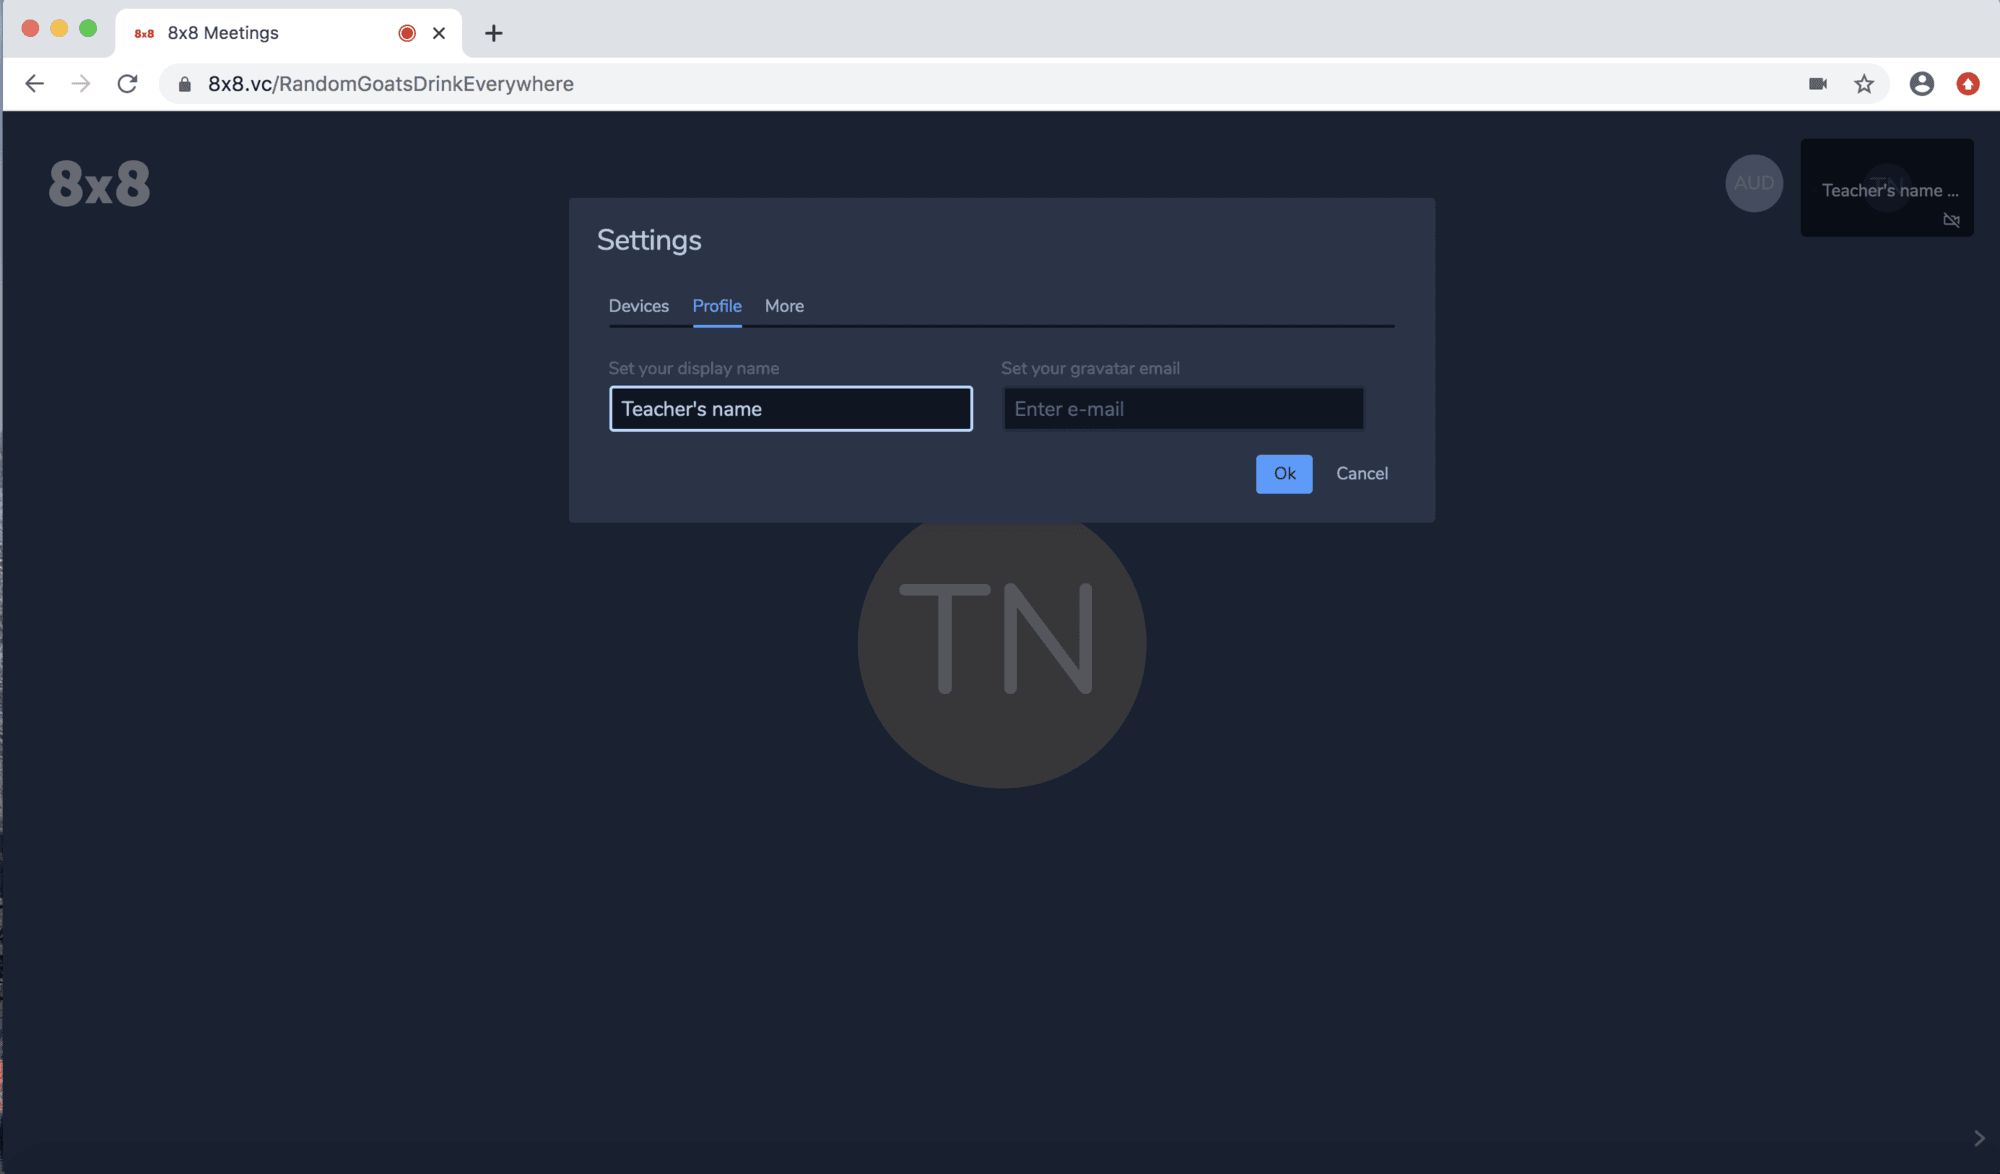
For devices, you can select the camera, microphone and headphones on this screen. Once finished, select "Profile" to add your name and email:
Add the name and email for your video classroom.
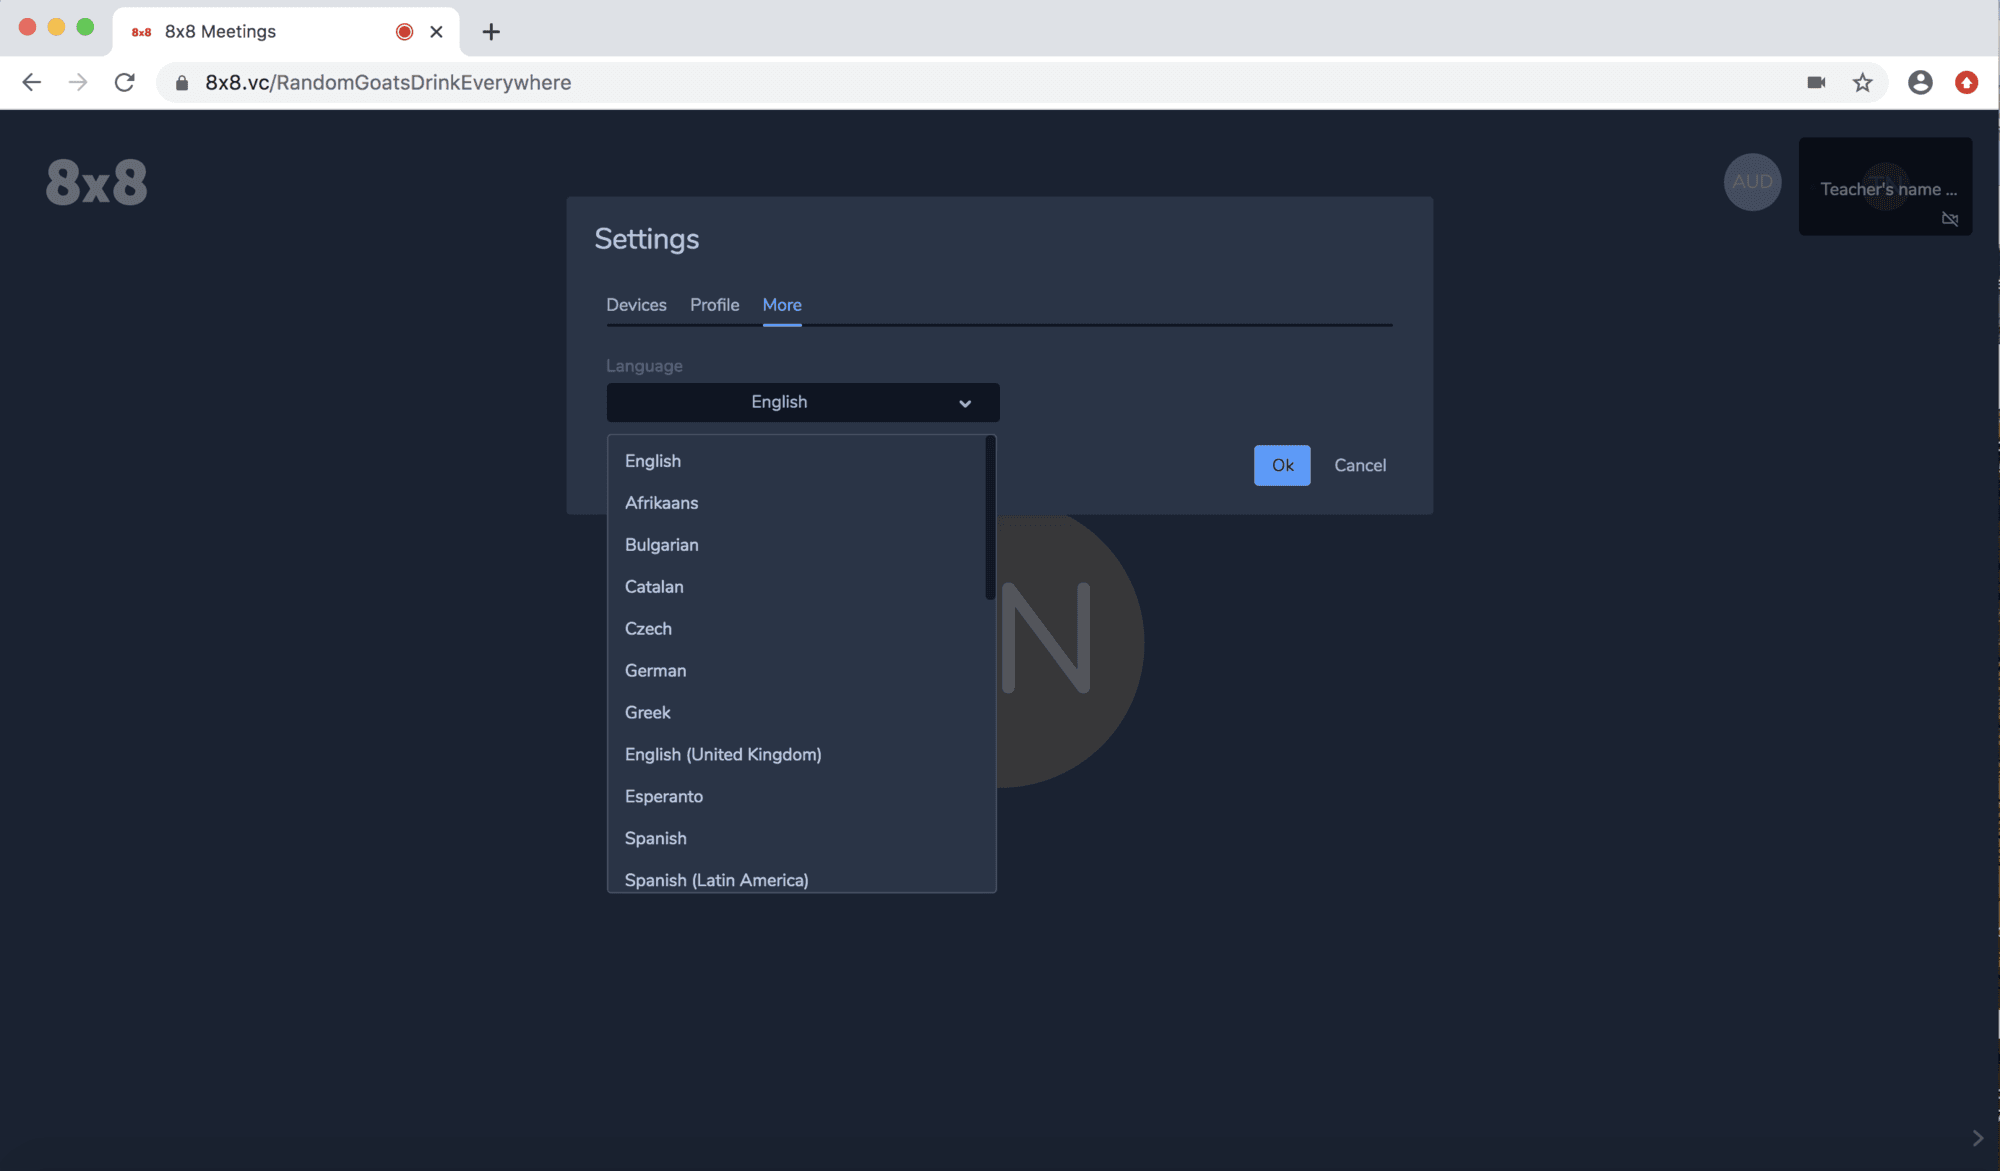
When finished, select "More" to access the language settings:
Select the appropriate language and select "Ok" to save your new settings. Full screen view
To increase the view to a full screen view, click on this icon located in the lower right hand corner of the screen:
to bring up the menu:
From the menu, select "View full screen". Now the video classroom will be presented in full screen mode. Select "Esc" (the escape key) to exit full screen mode.
To make navigating the video classroom easier, there are a set of shortcuts. Pressing these keys while conducting a lesson will turn the capability on/off. To find the shortcuts, click on this icon in the lower right corner of the screen:
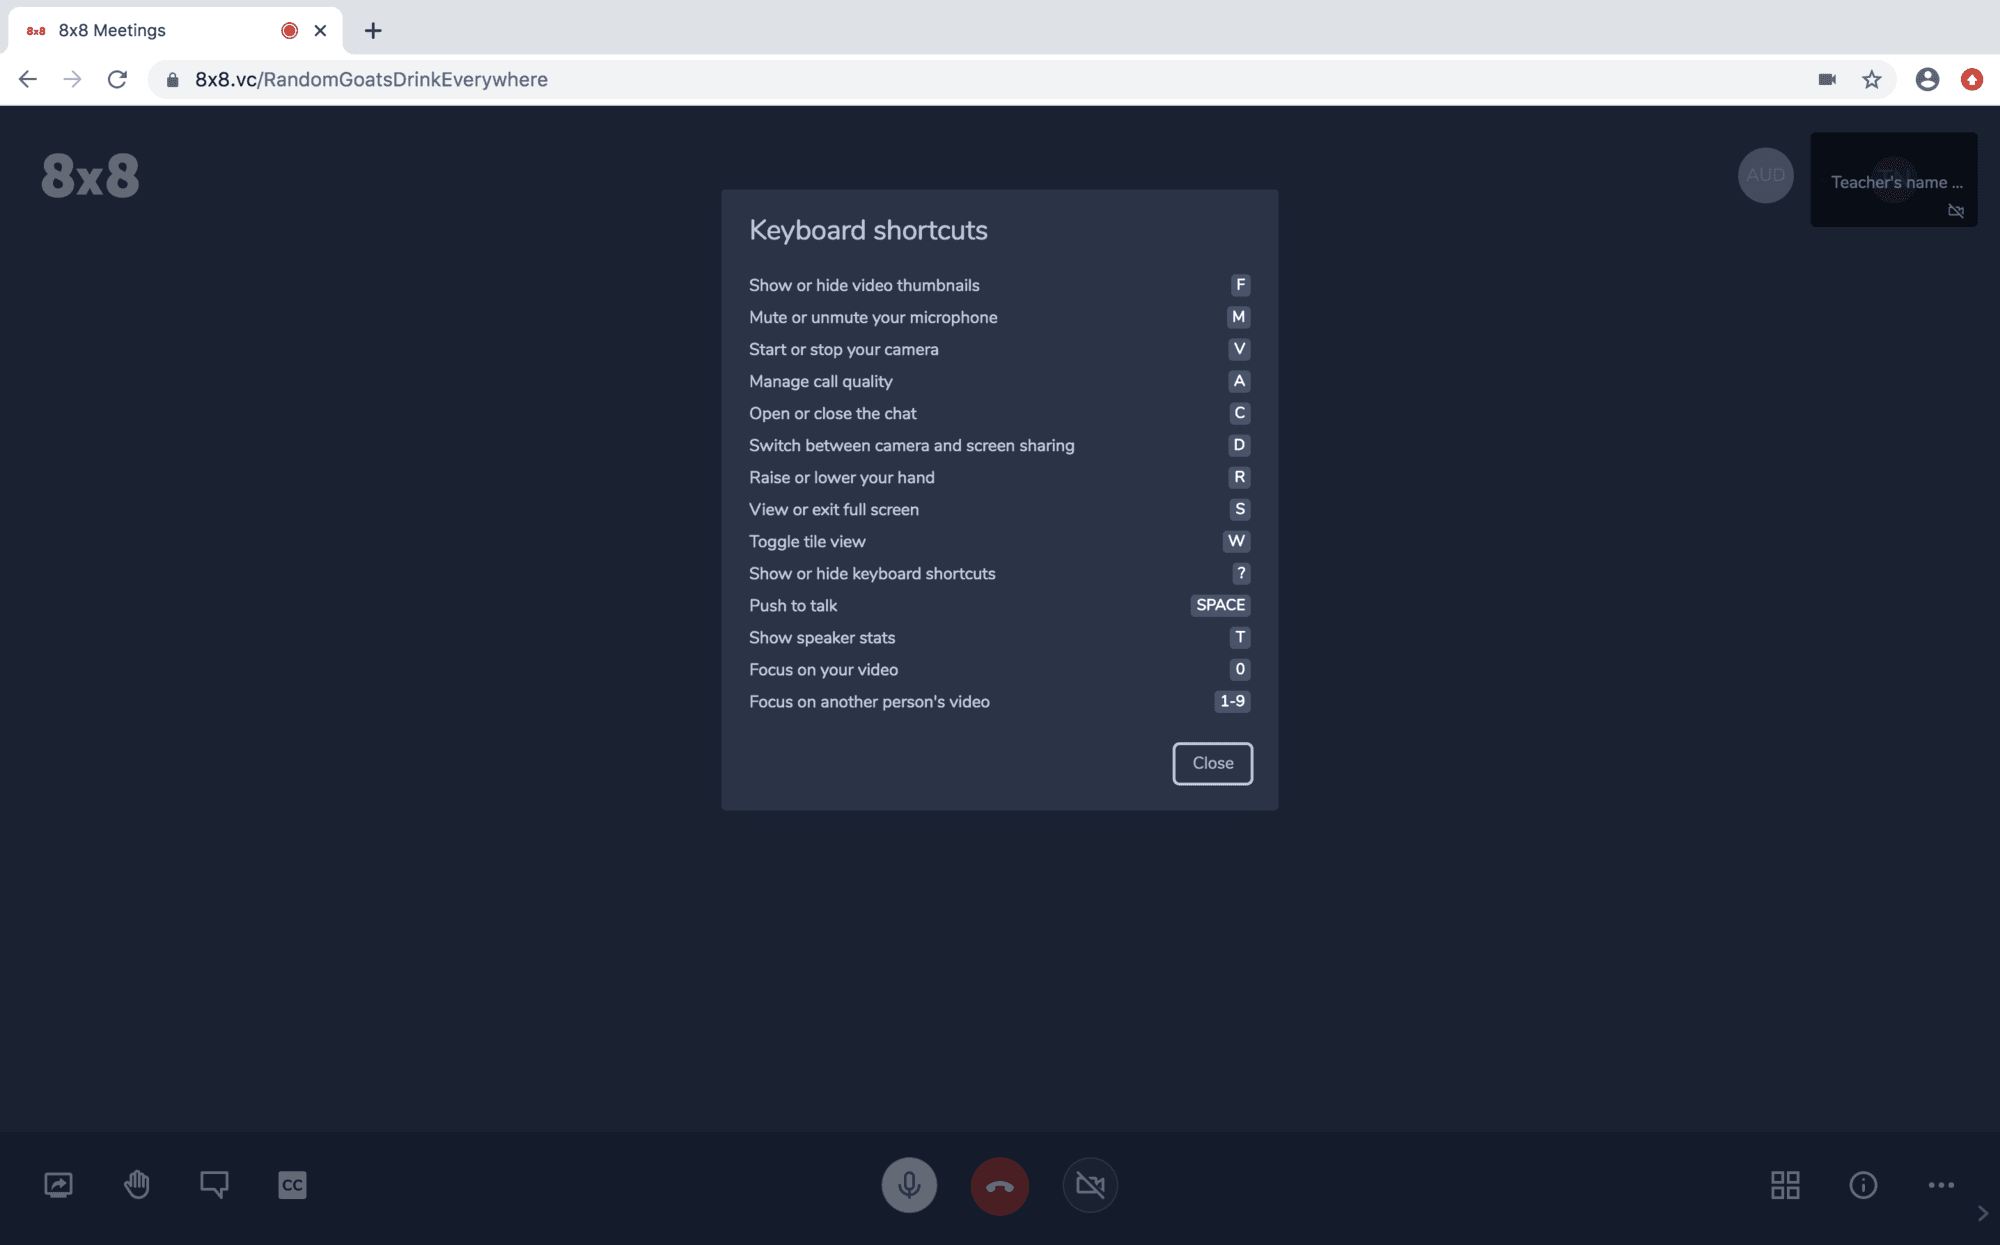
The menu will be displayed. Select "View shortcuts":
The shortcut codes are displayed:
You can see how long you are speaking during the video classroom with the speaker stats. To access the speaker stats, click on this icon located in the lower right corner of the screen:
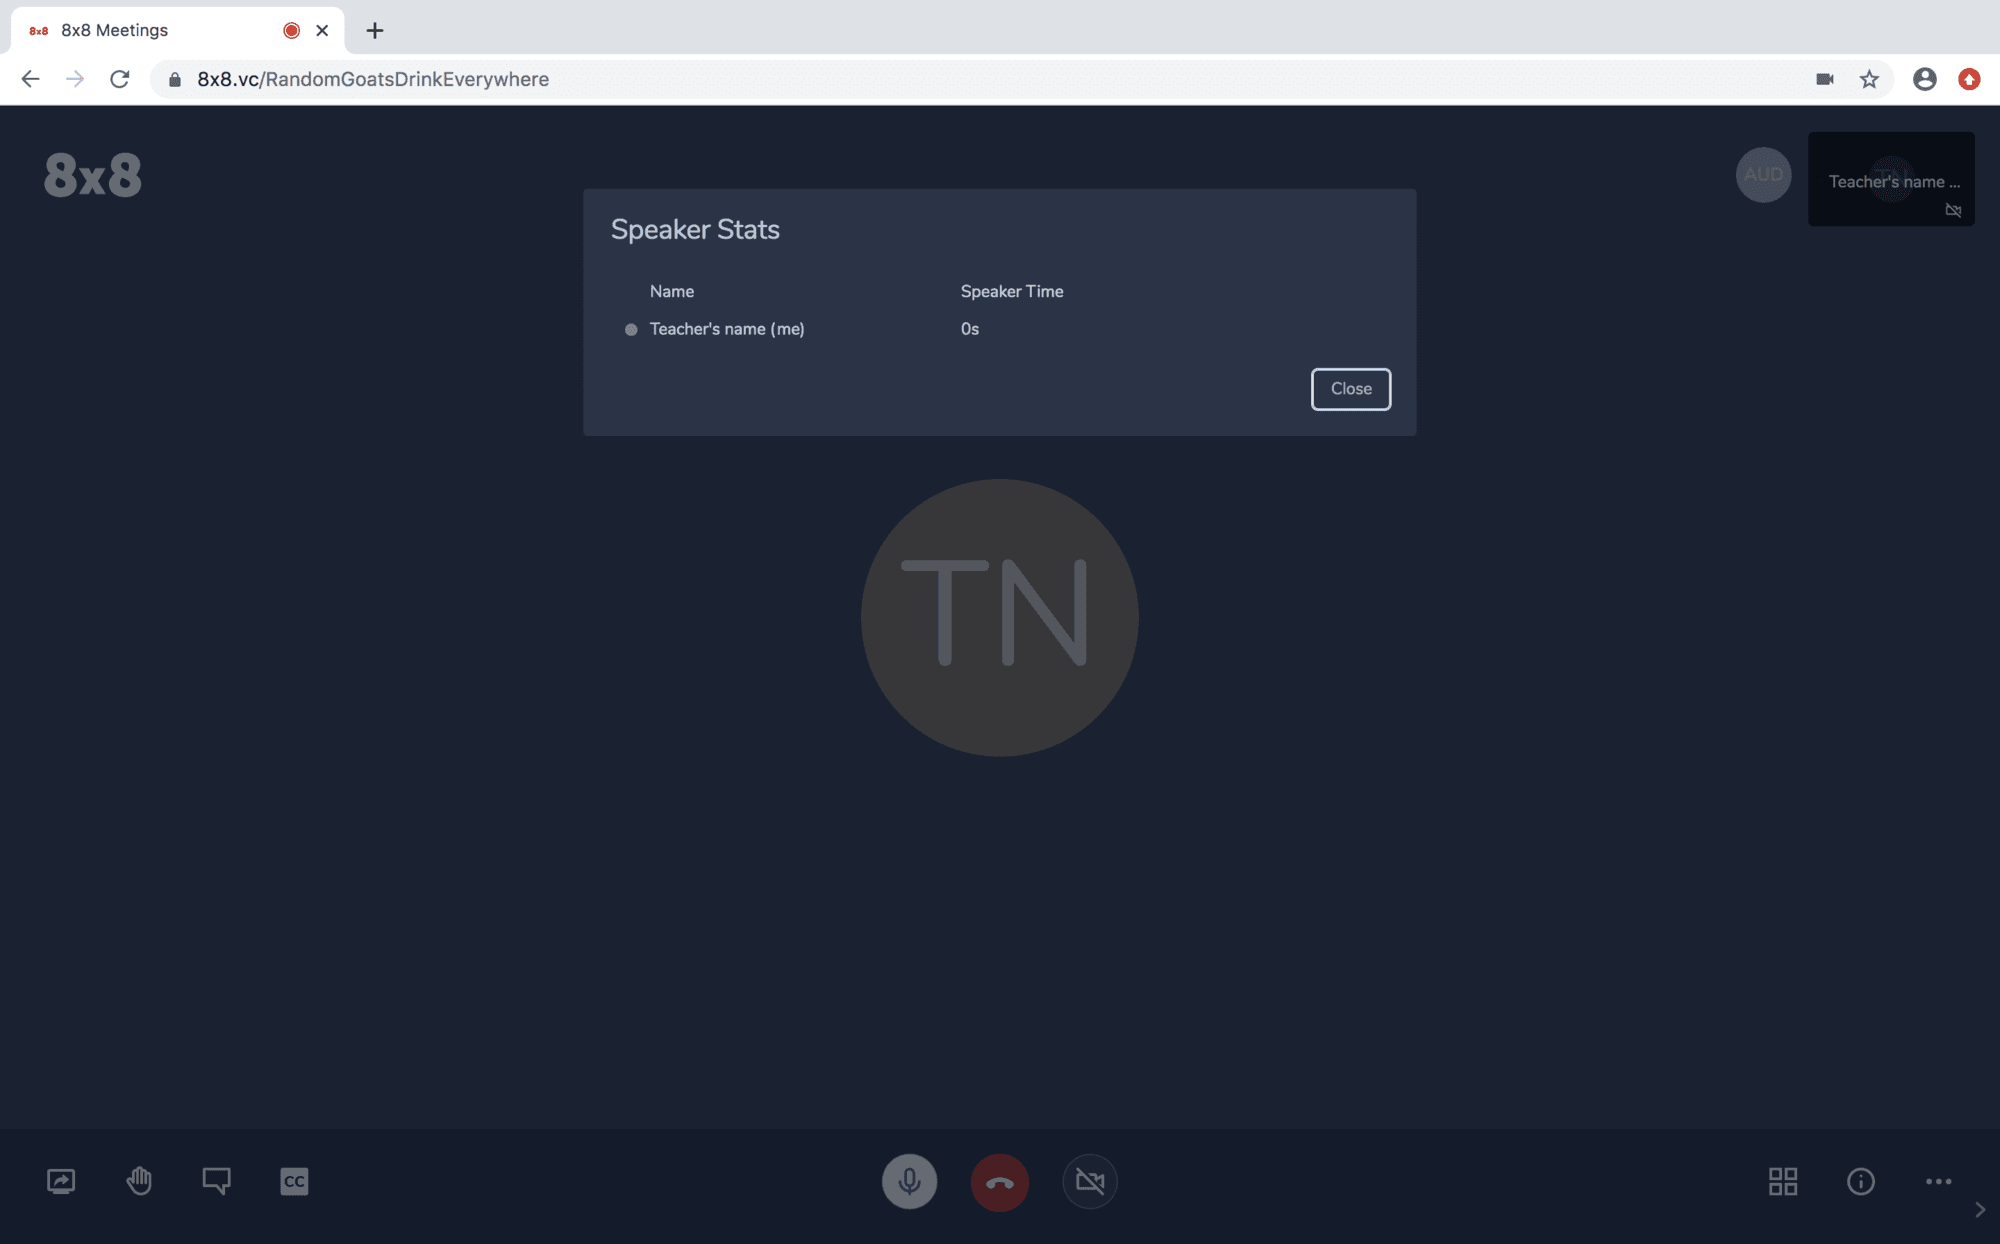
The menu is displayed. Select "Speaker stats":
The speaker stats are displayed:
There may be times where you are working remotely and the network/ internet service isn't very good. To address those situations, you can easily adjust the amount of bandwidth consumed by the video classroom to maintain clear audio.
Click on this icon in the bottom right corner of the screen:
Now the menu is displayed. Select "Manage video quality":
Now the video settings are displayed:
You can quickly change the settings to a level that reduces the strain on the network to ensure the right balance of audio quality and video resolution.
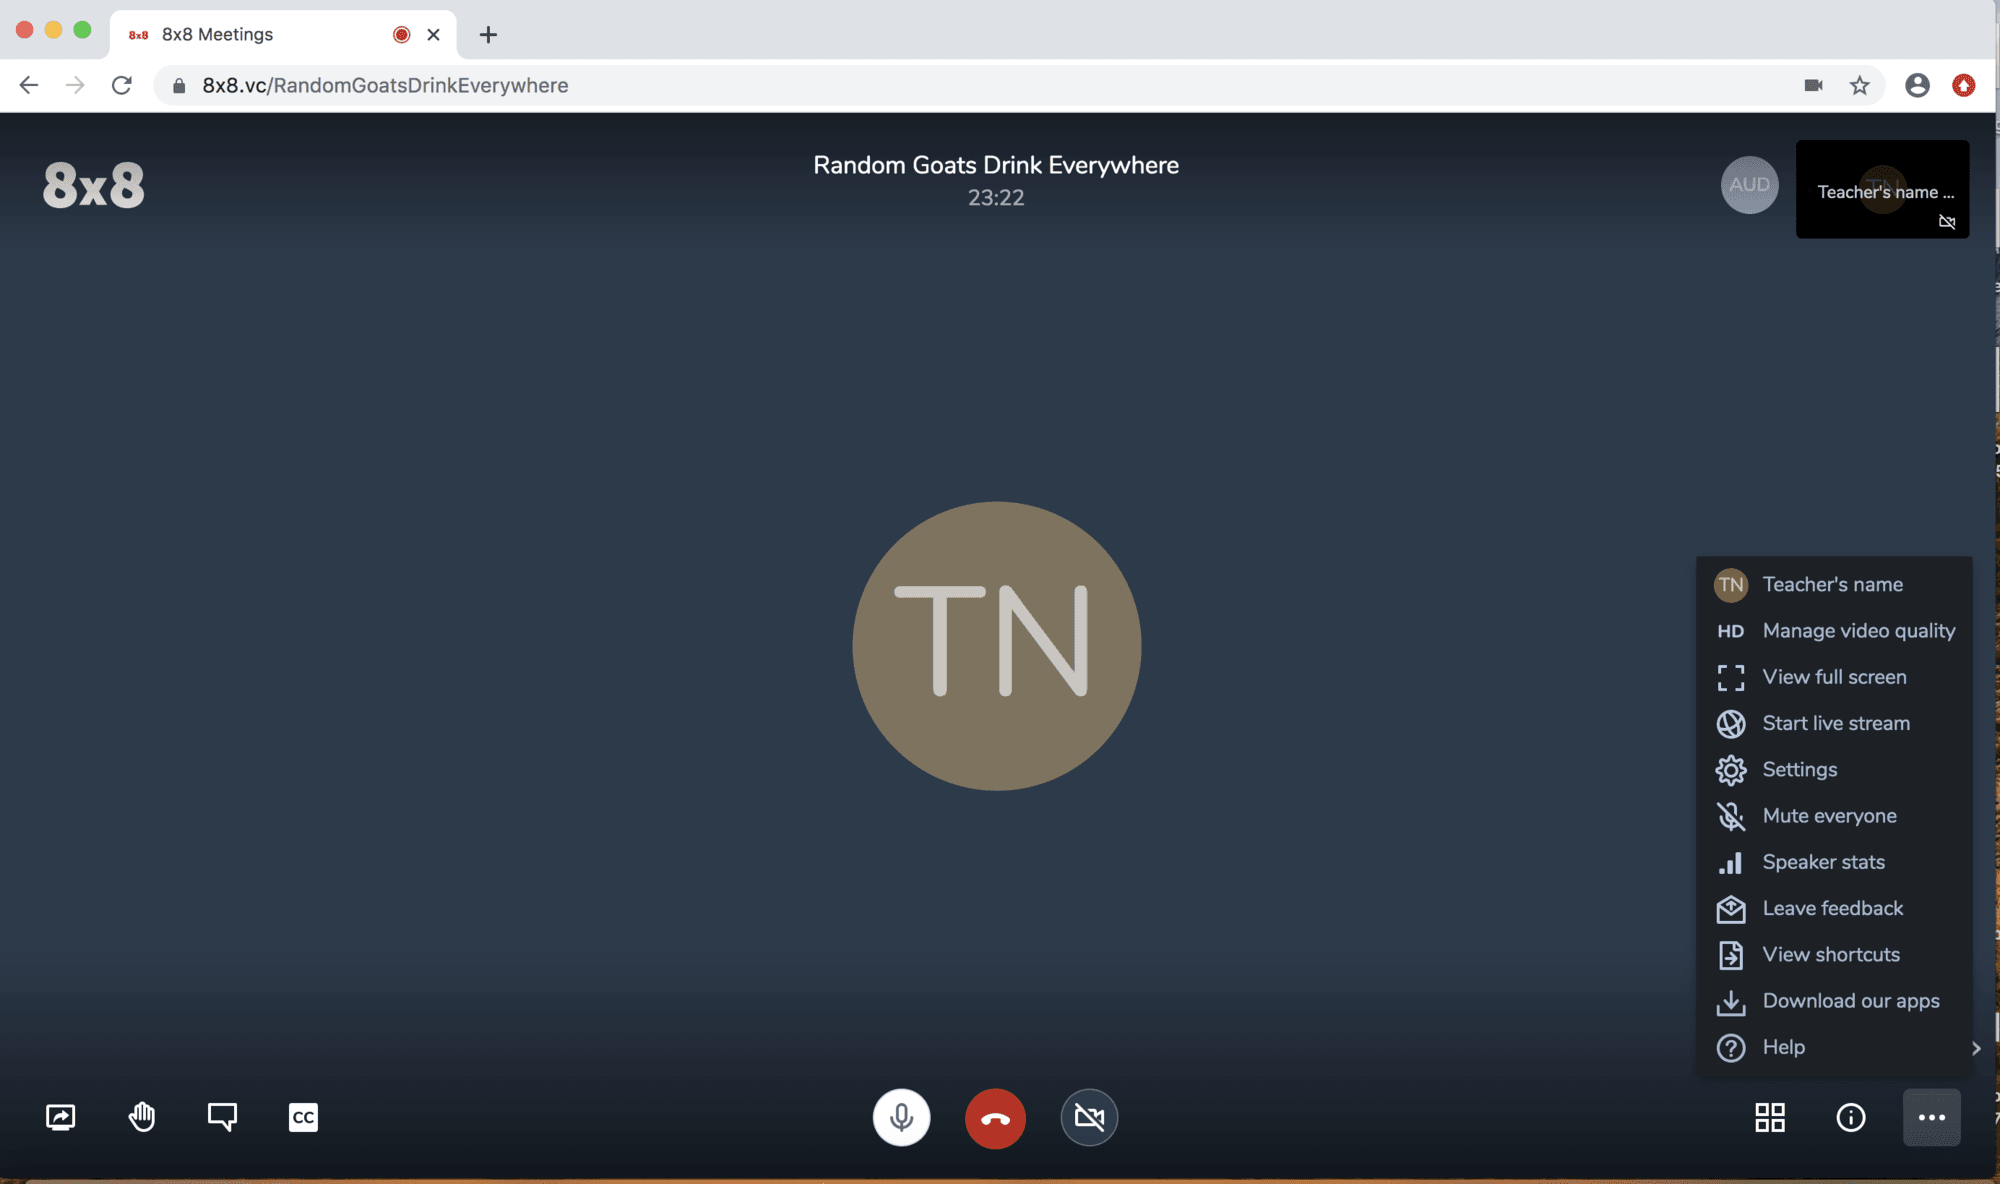
The live stream capability enables video classrooms for groups greater than 50 participants. To set-up a live stream capability, click on this icon:
Now the menu is displayed:
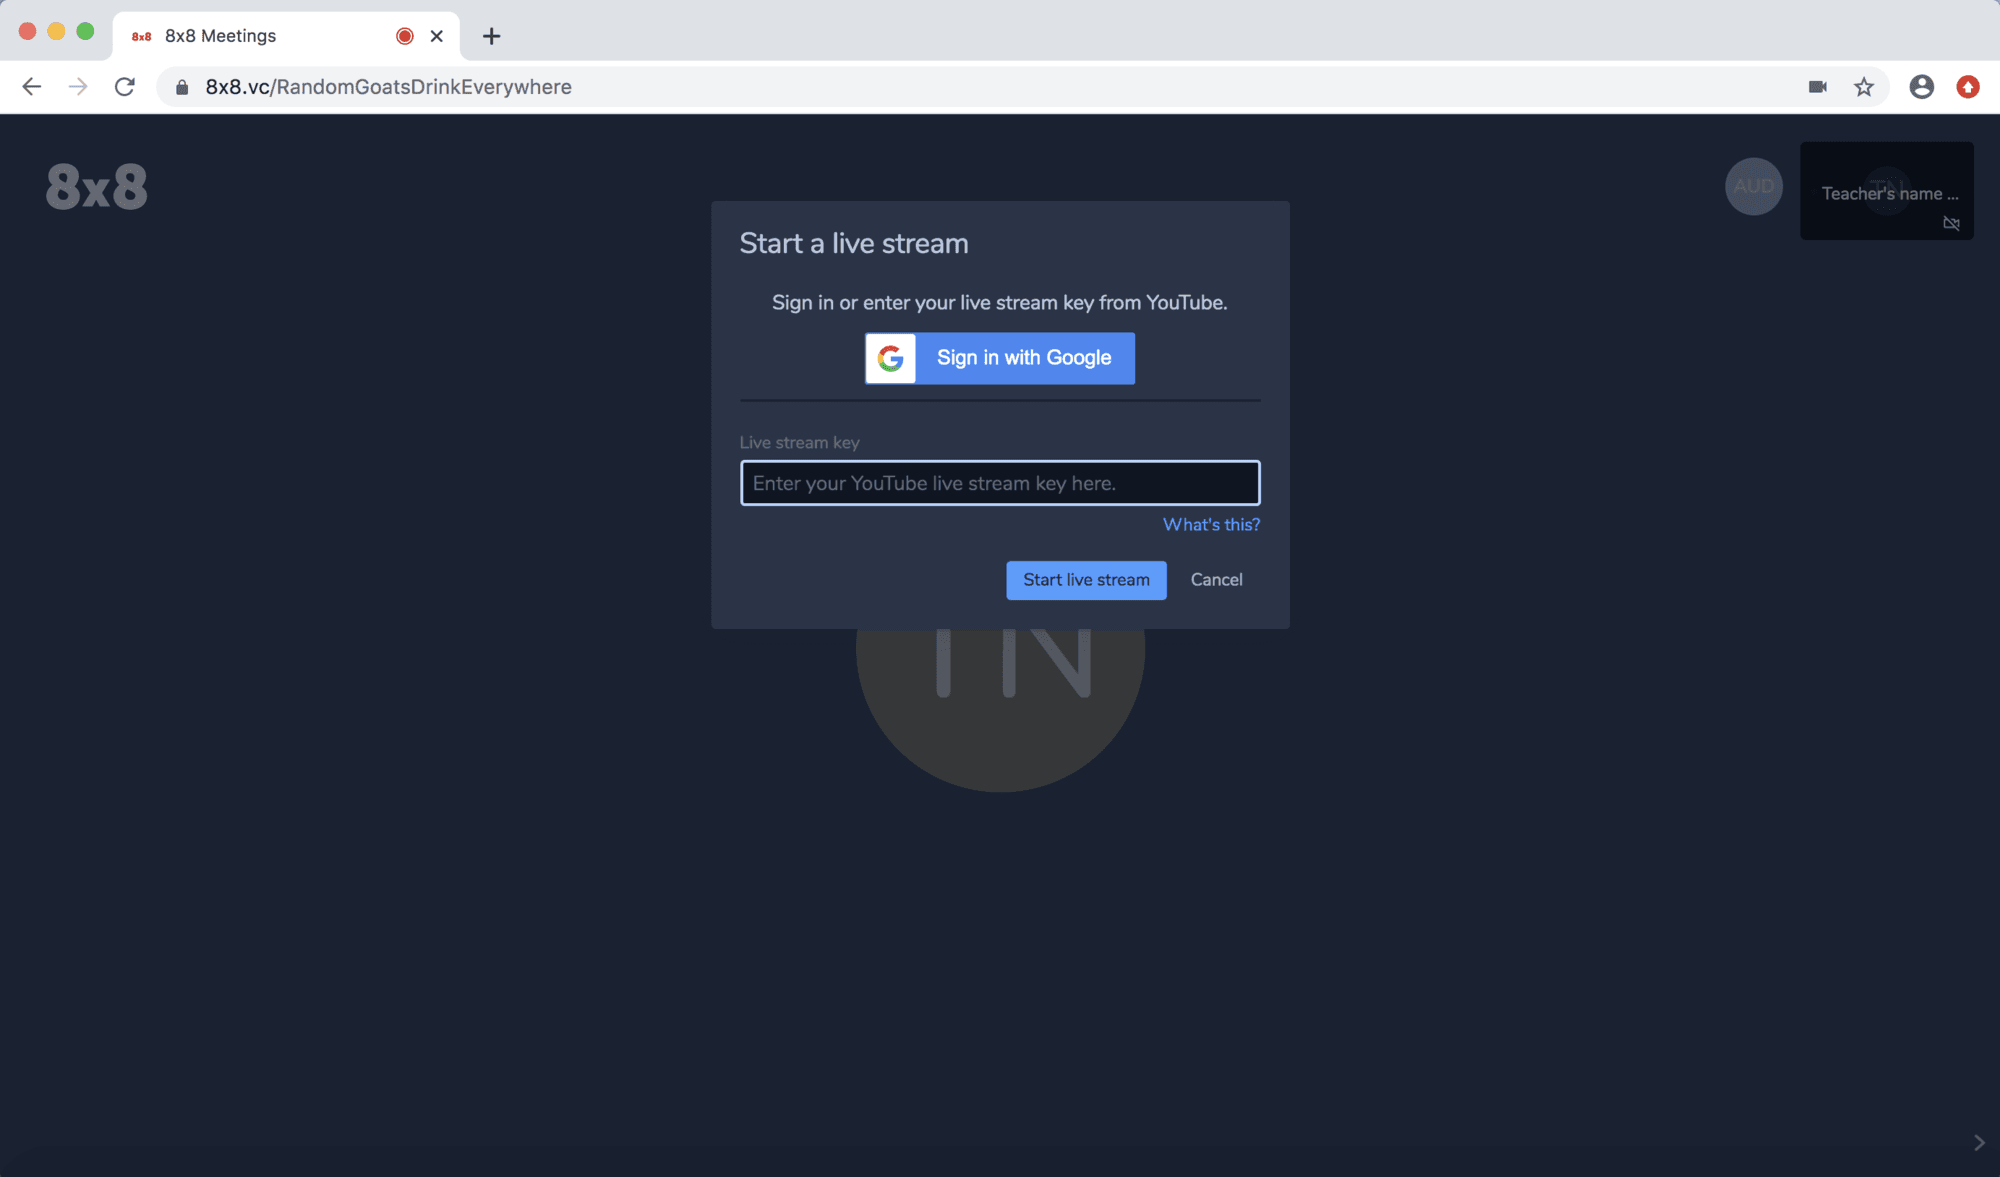
Select "Start live stream" to start the set-up:
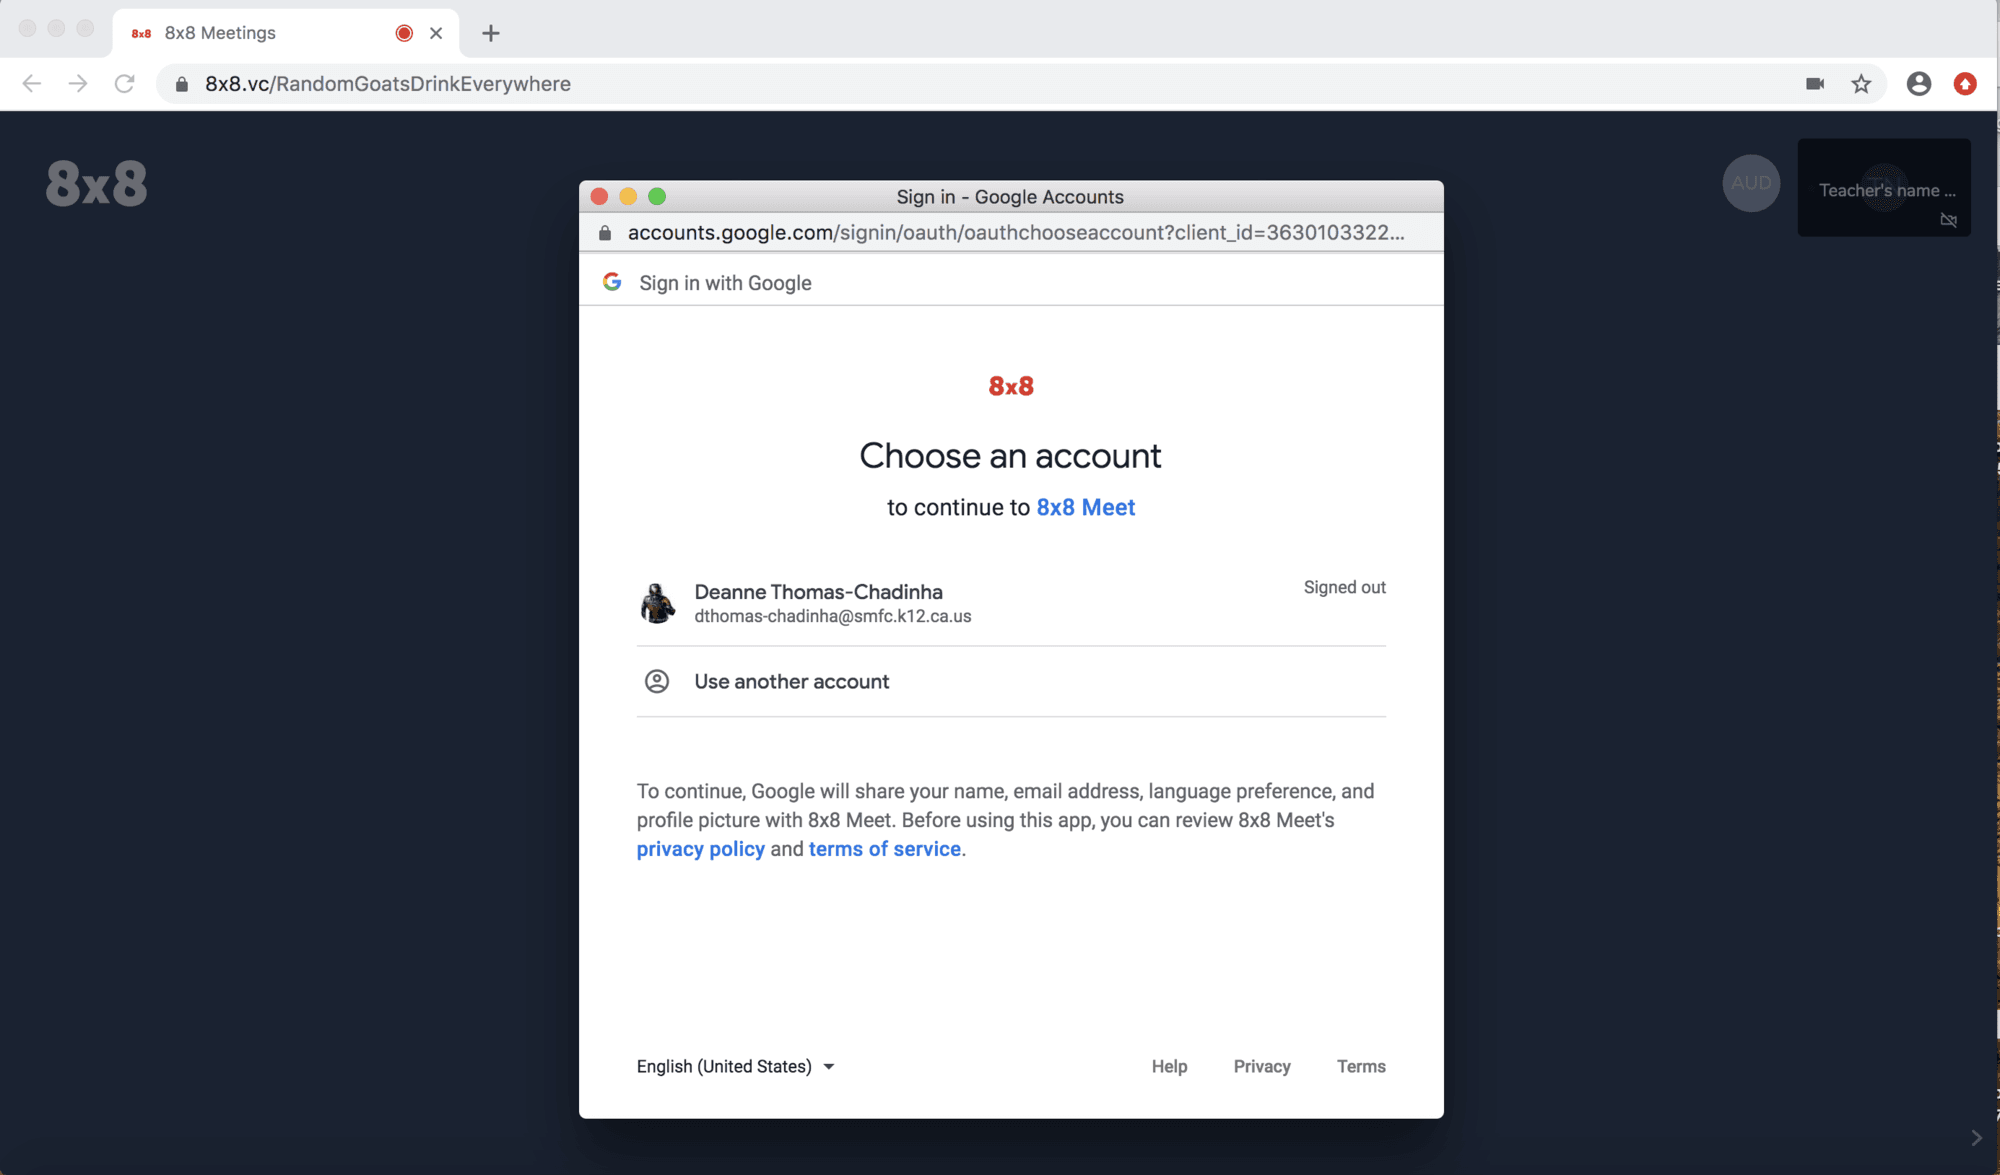
Sign in with your Google password.
Note that you will have to have Live Streaming already enabled for your account to access this capability. Here is the introduction to enabling Live Streaming from Google Support.
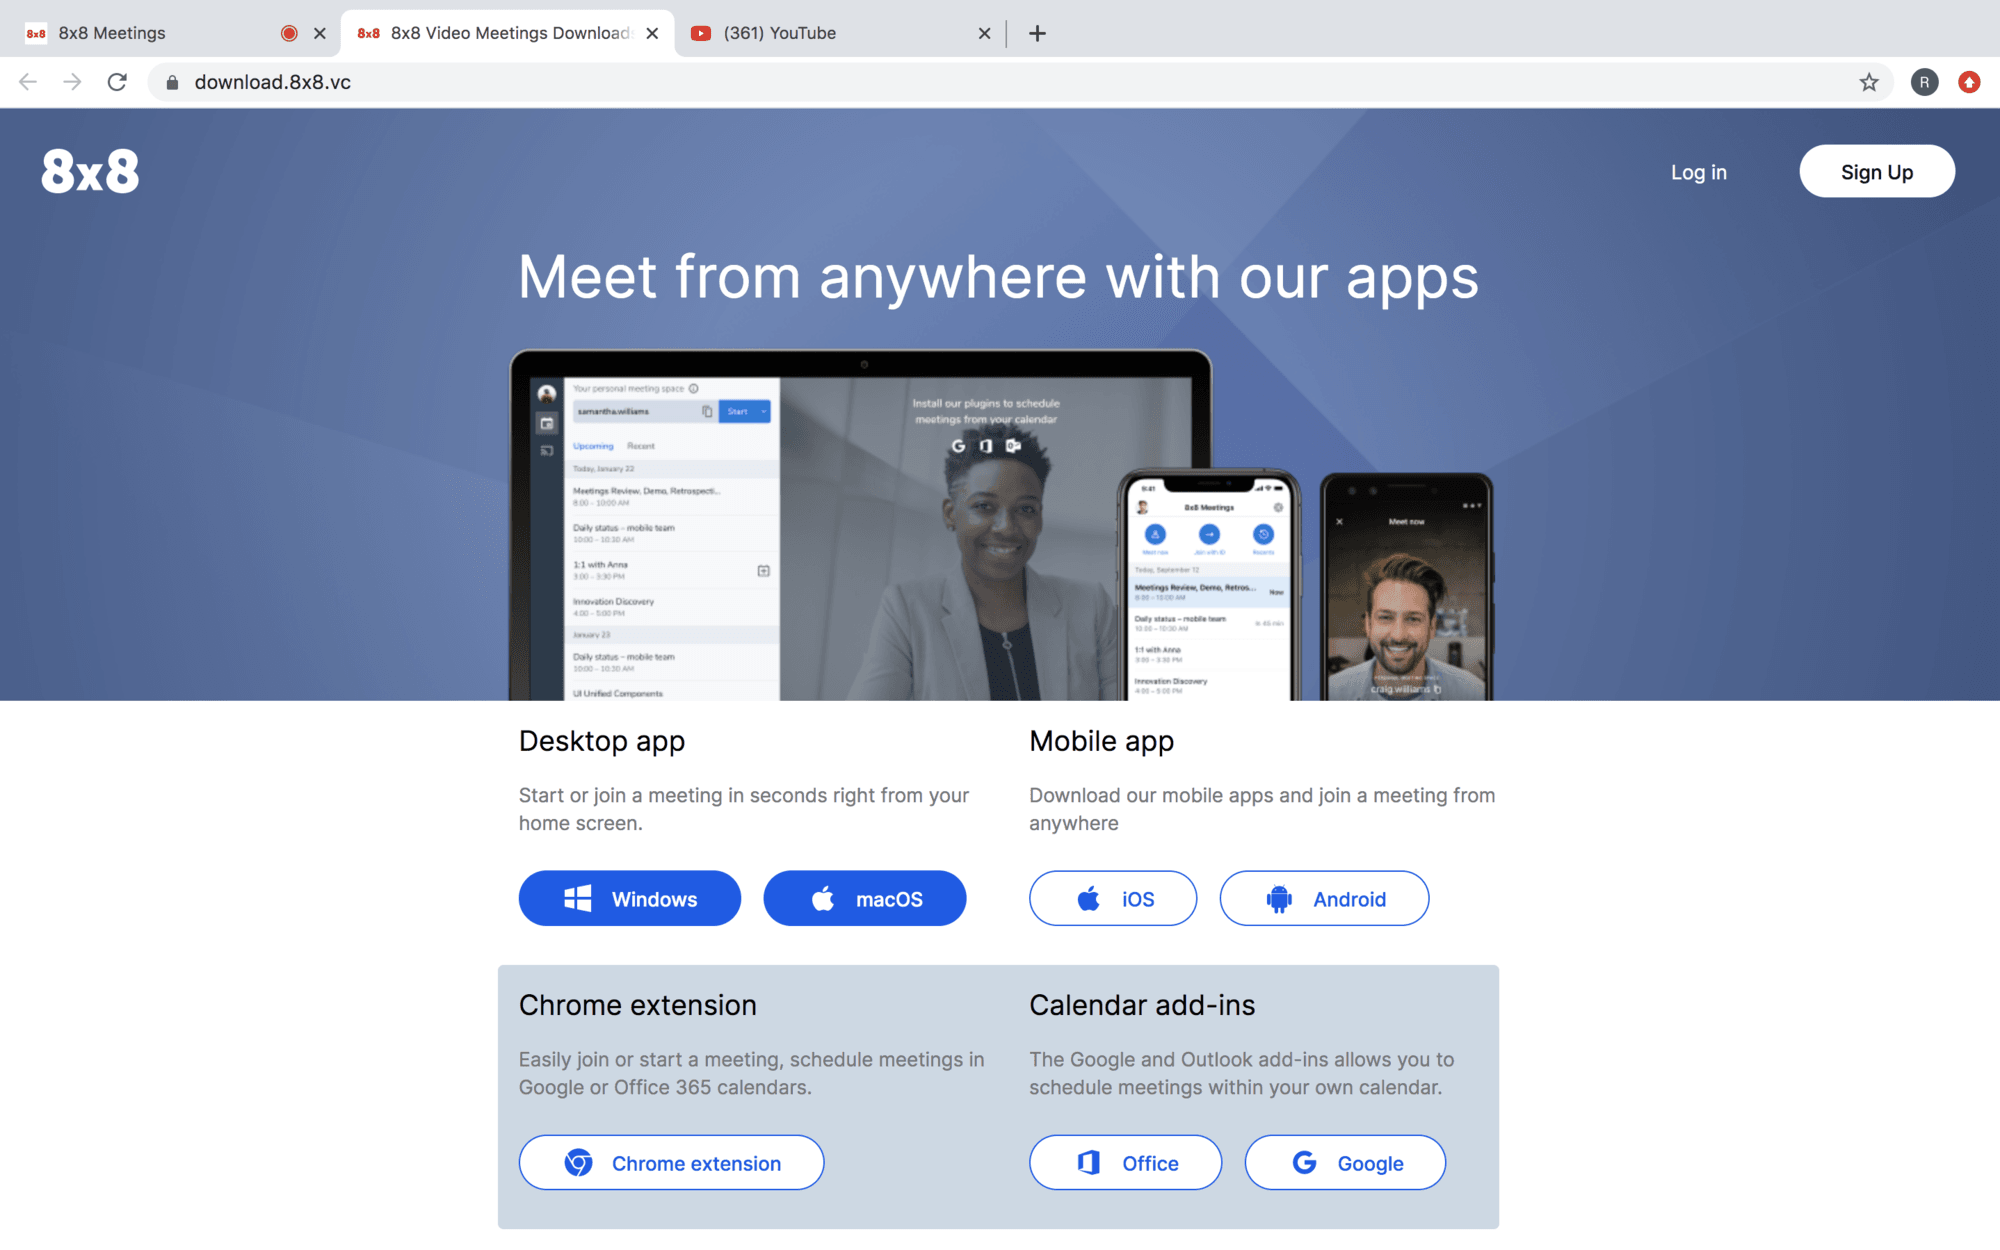
To add the video classroom apps (Chrome extensions) and calendar add-ins (Office and Google) to your devices for additional ease and convenience, click on this icon located in the lower right corner of your screen:
From the menu, select "Download our apps":
Access the appropriate option:
As you use the video classroom capabilities, your feedback is critical to ensuring the product works as you need it to. Provide your insights by clicking on this icon located in the lower right corner of the screen:
From the menu, select "Leave feedback":
Now you can add your comments and suggestions and then click "Submit" to send them to the development team. The development team reviews all comments to help prioritize which new capabilities are added:
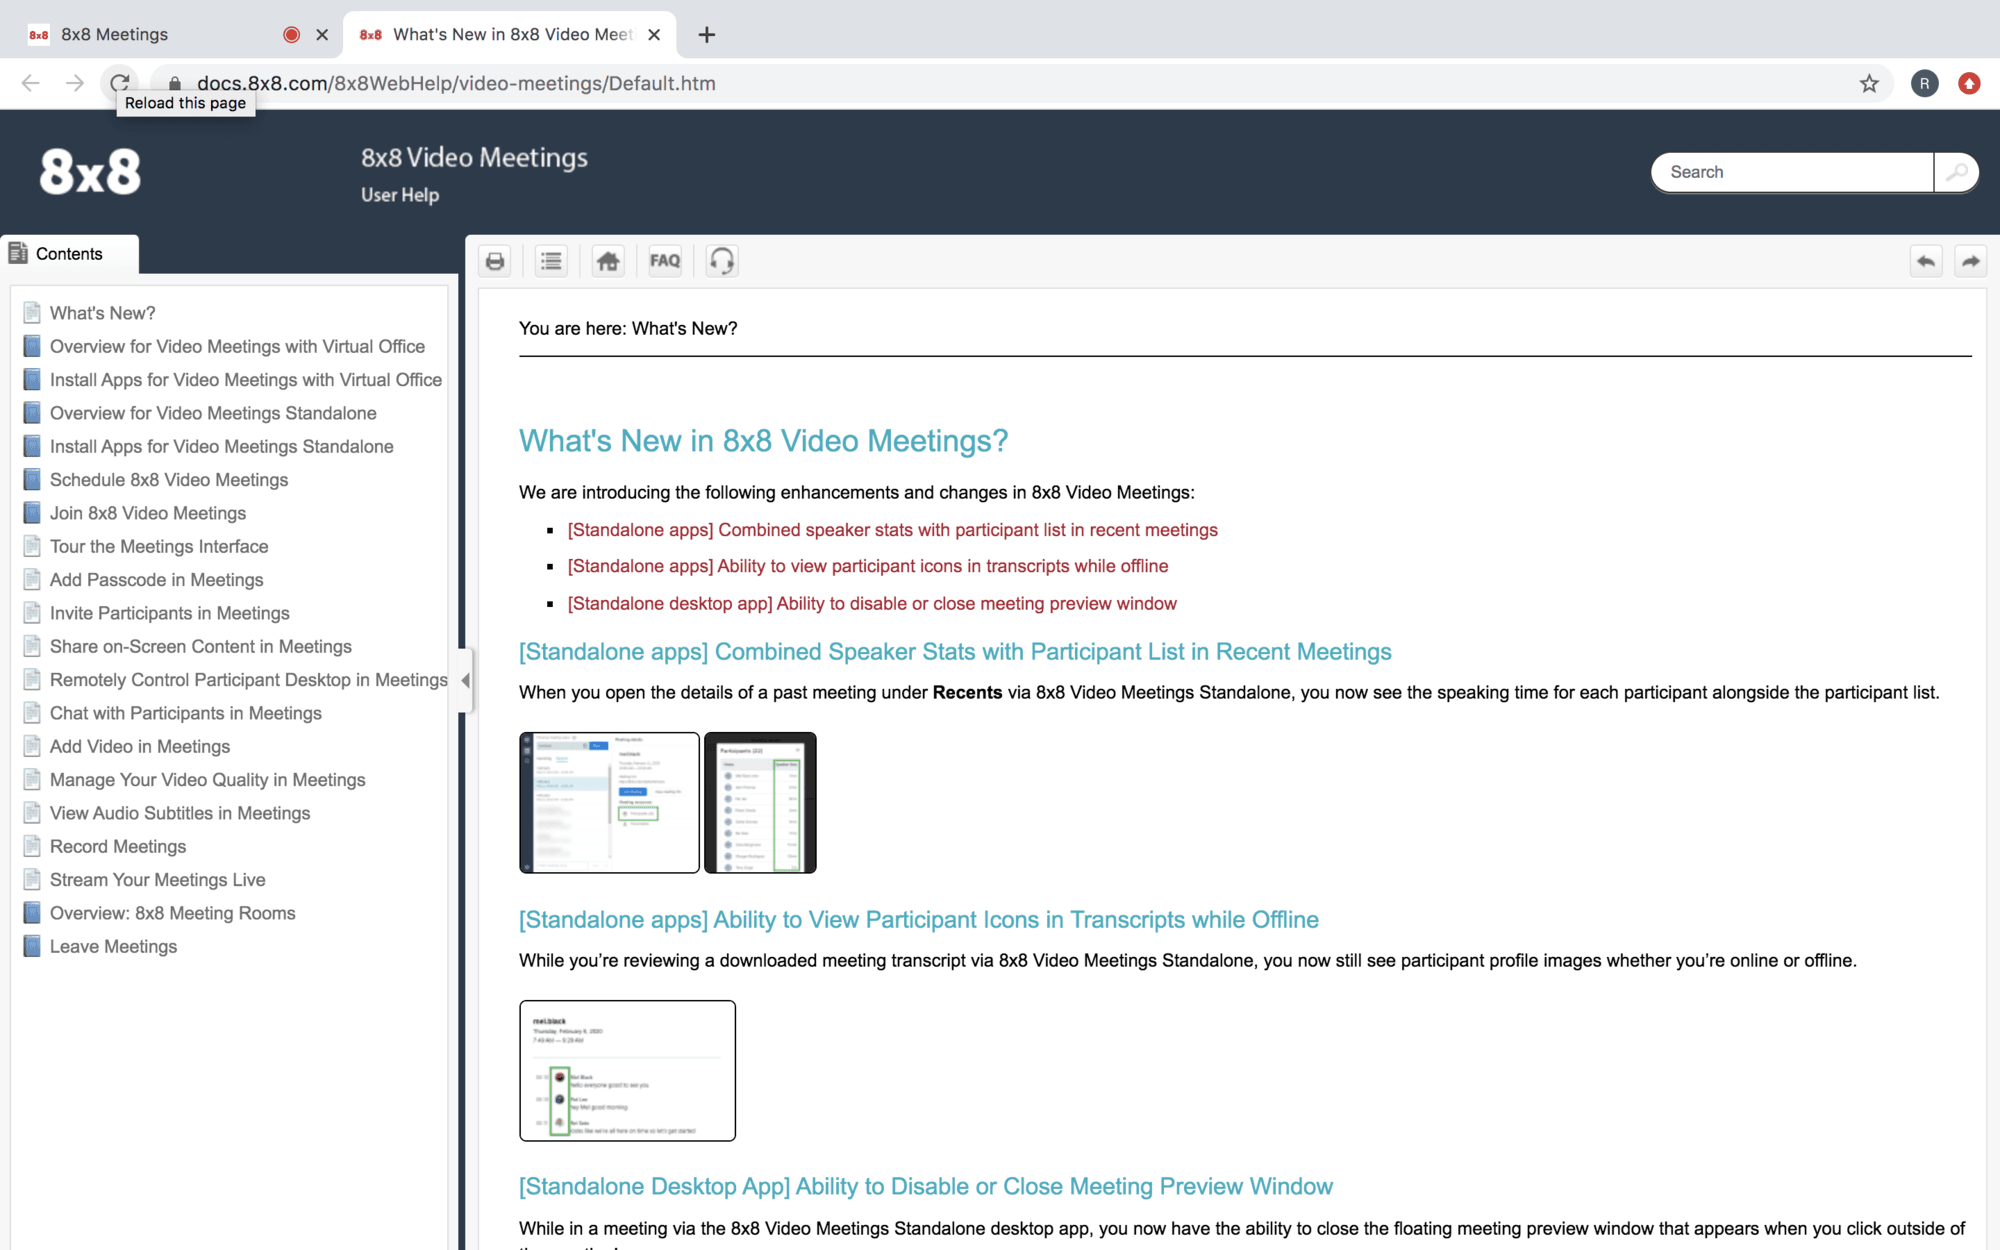
To access "how to" information, the video classroom contains a knowledgebase of frequently asked questions. Access this information by clicking on this icon located in the lower right corner of the screen:
From the menu select "Help":
The Help information is presented:
How to start a video class