Getting set-up for success
Working from home or remote locations means having to rely on internet bandwidth that may not be up to the standards provided by the school network. Before conducting a video lesson, you can quickly assess the network performance of your remote location with this connection quality test.
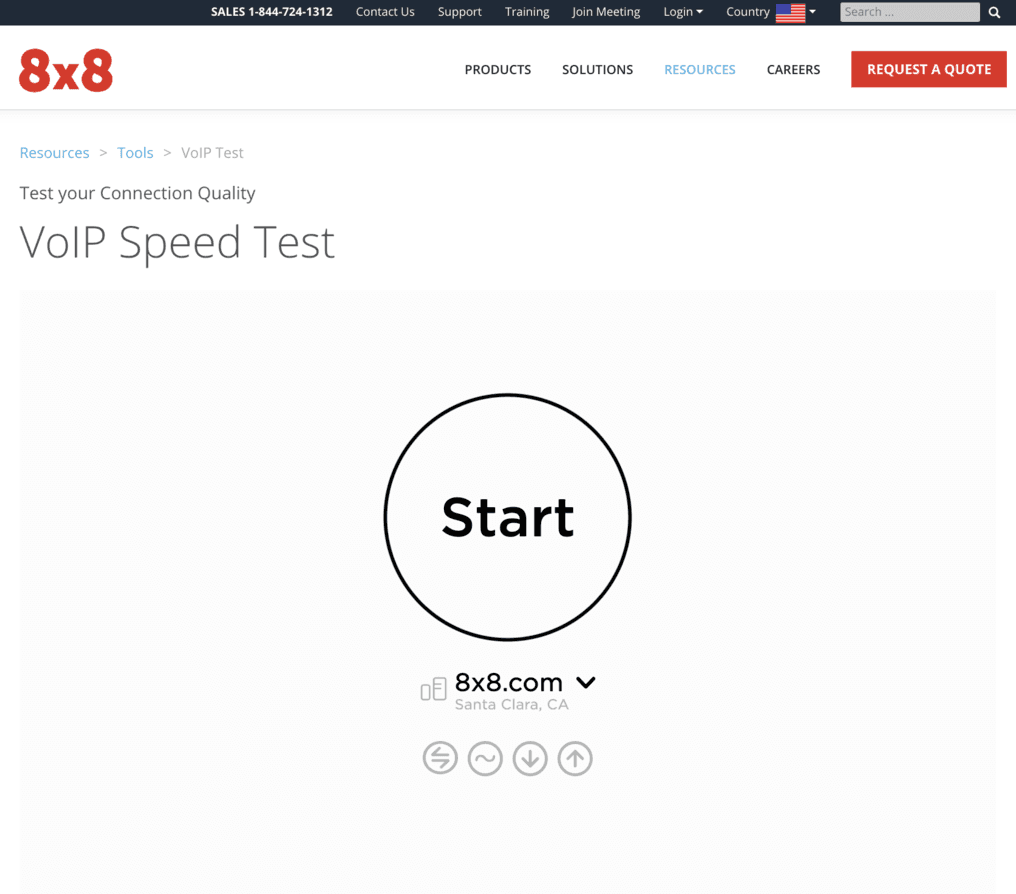
Start by accessing the connection quality test:
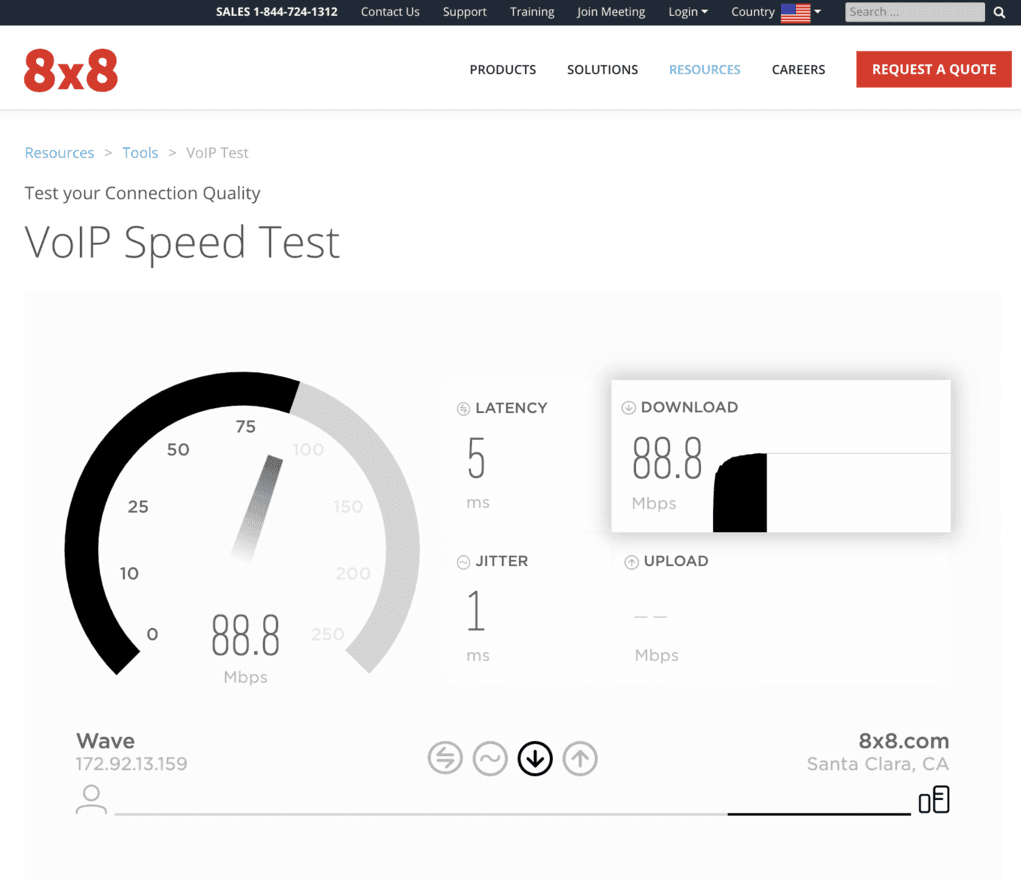
Click "Start" to begin the test. The test will assess the download and upload speeds of the connection:
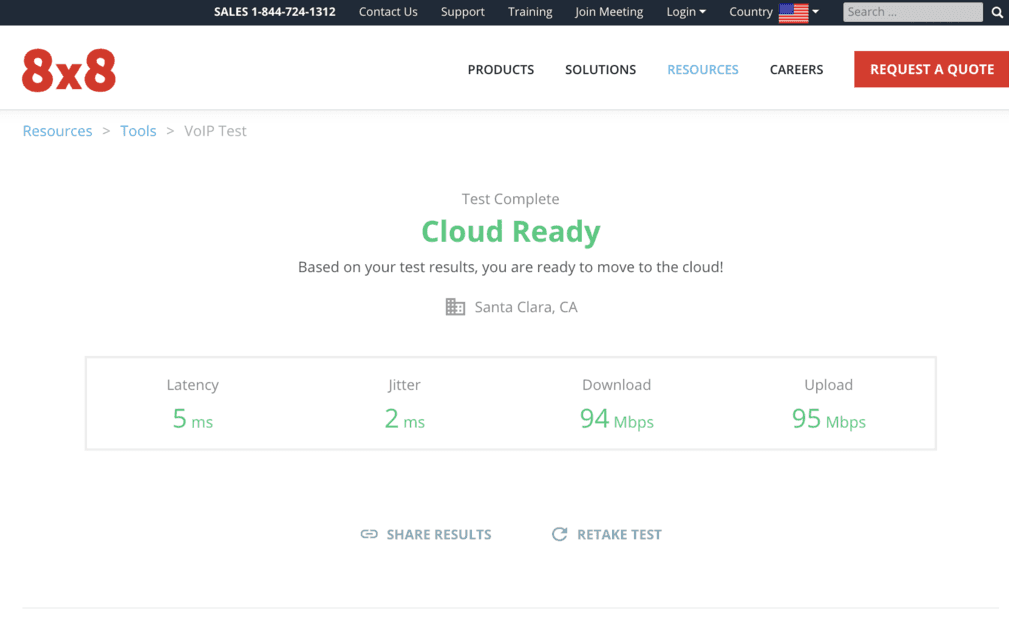
Results are provided showing the quality of the connection being used:
If the connection is not "Cloud Ready" you may want to talk with IT to determine options.
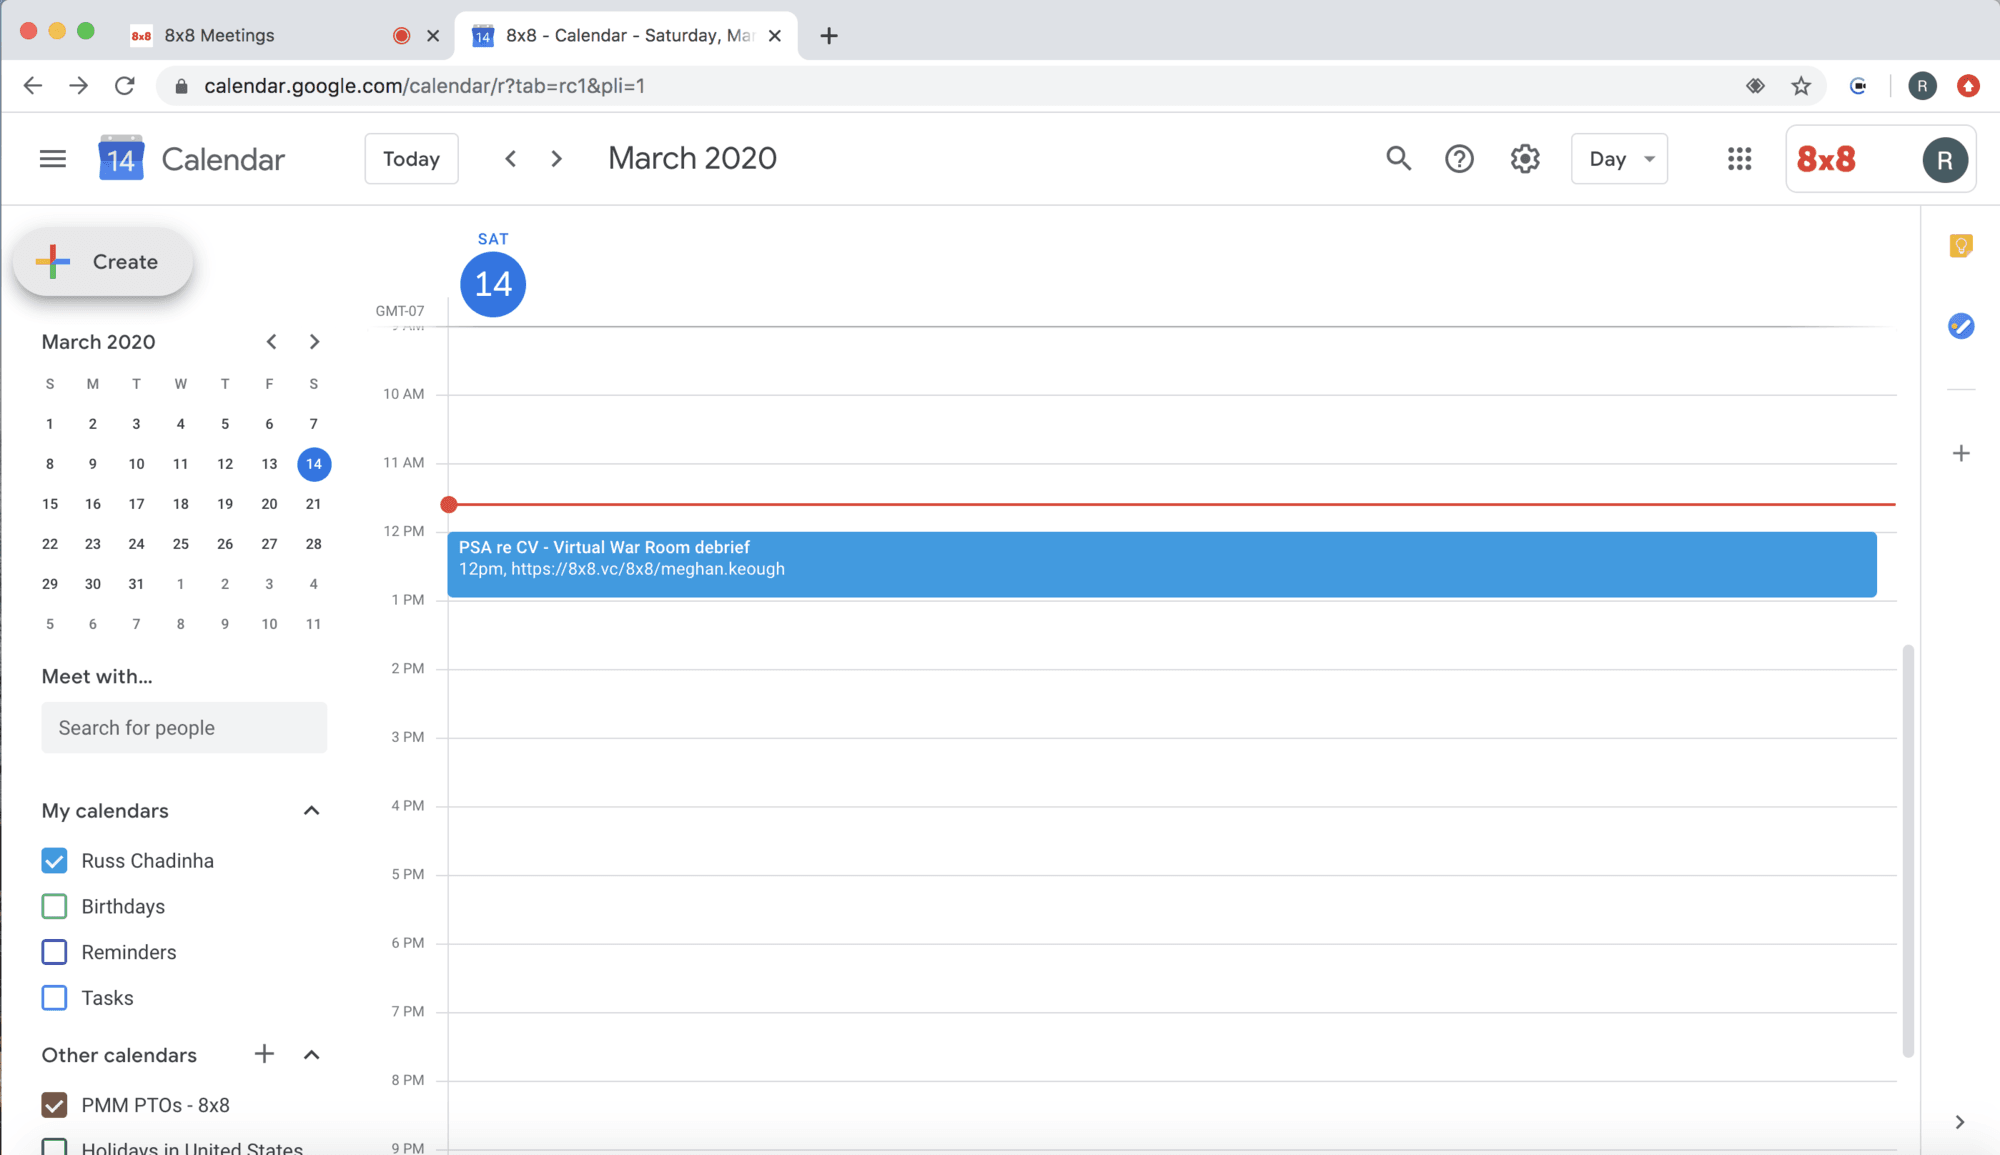
Time to put classes on calendars - at least yours. Step 3 is dedicated to adding classes to calendars. This brief reminder is for Google Calendar:
To start, access your Google Calendar:
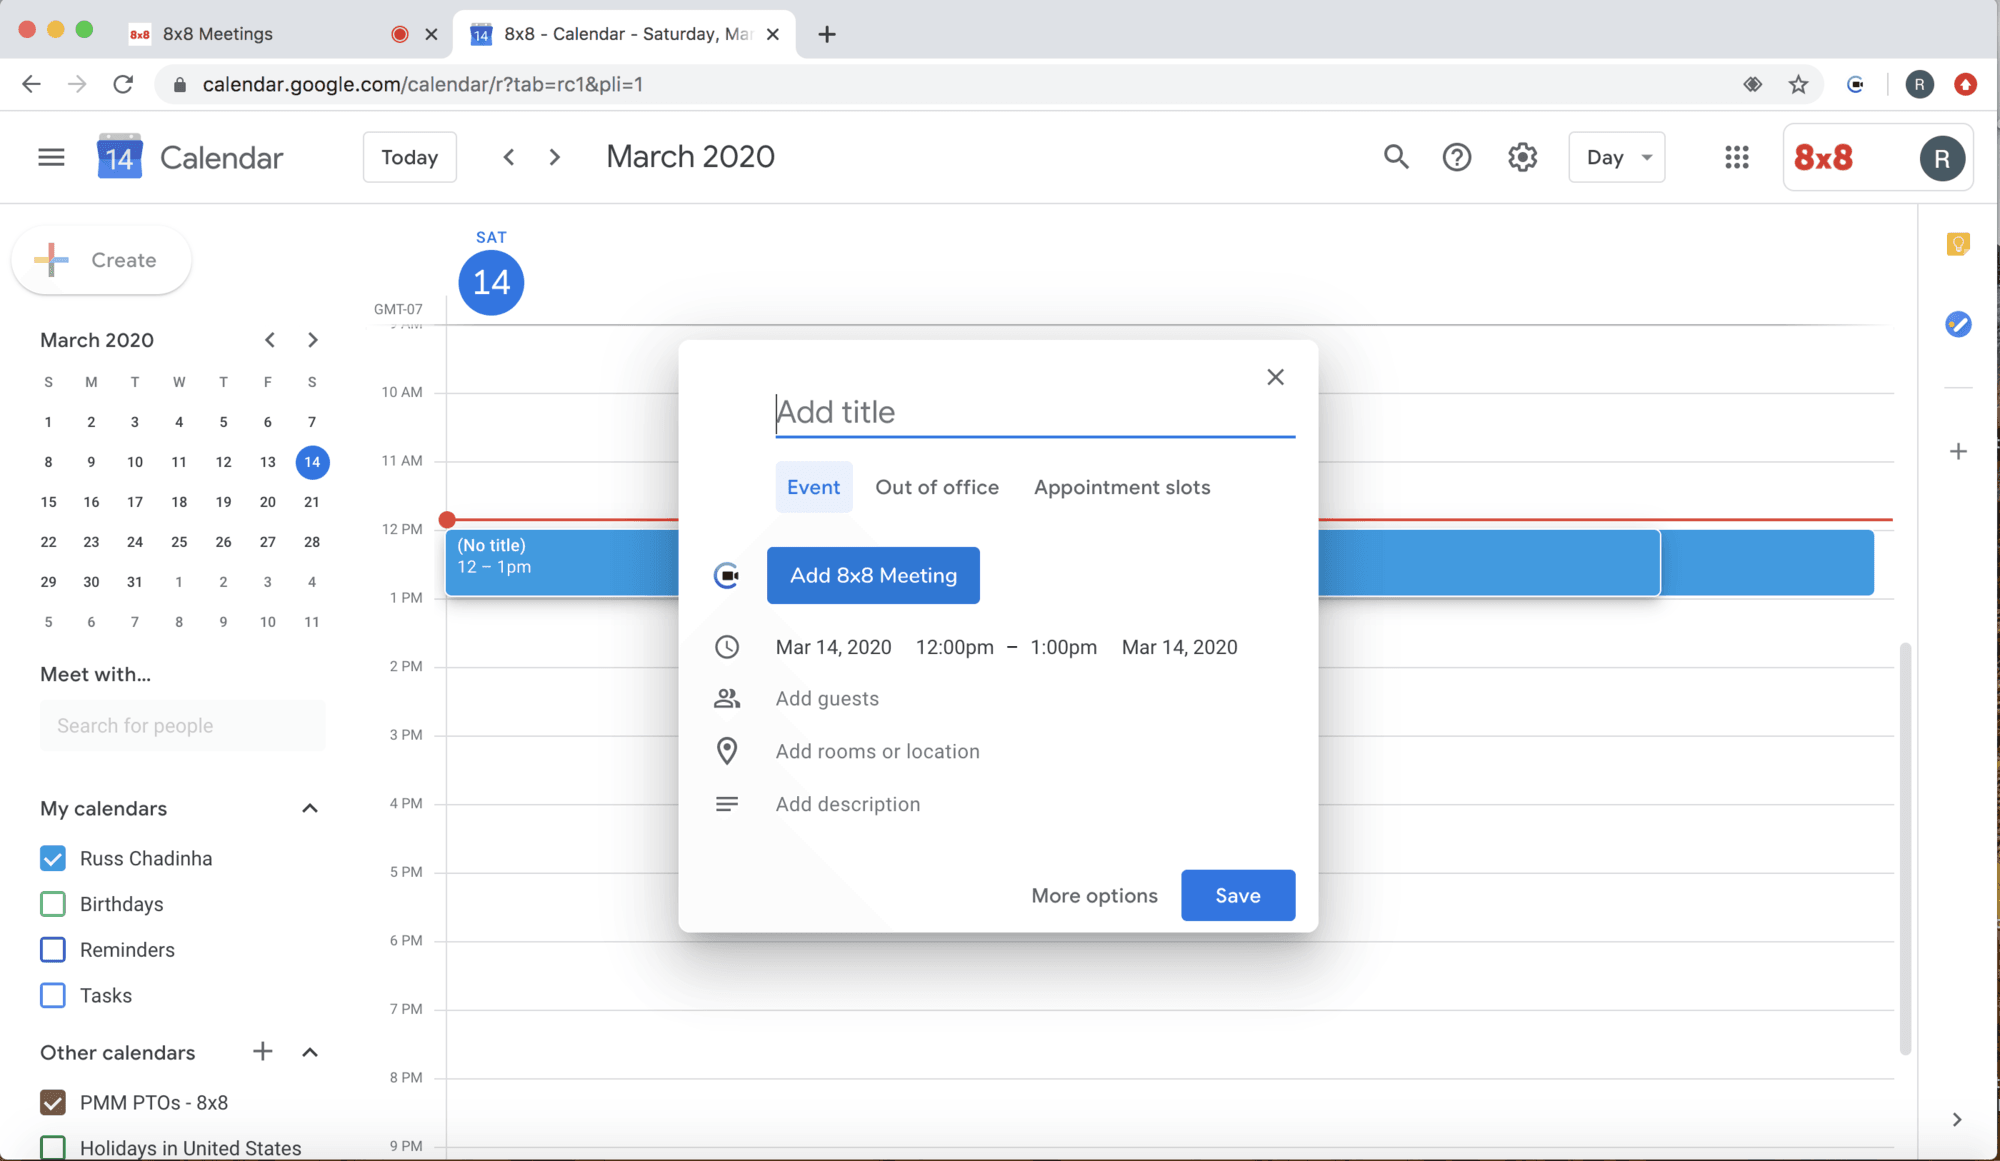
Click "+ Create" to schedule a class:
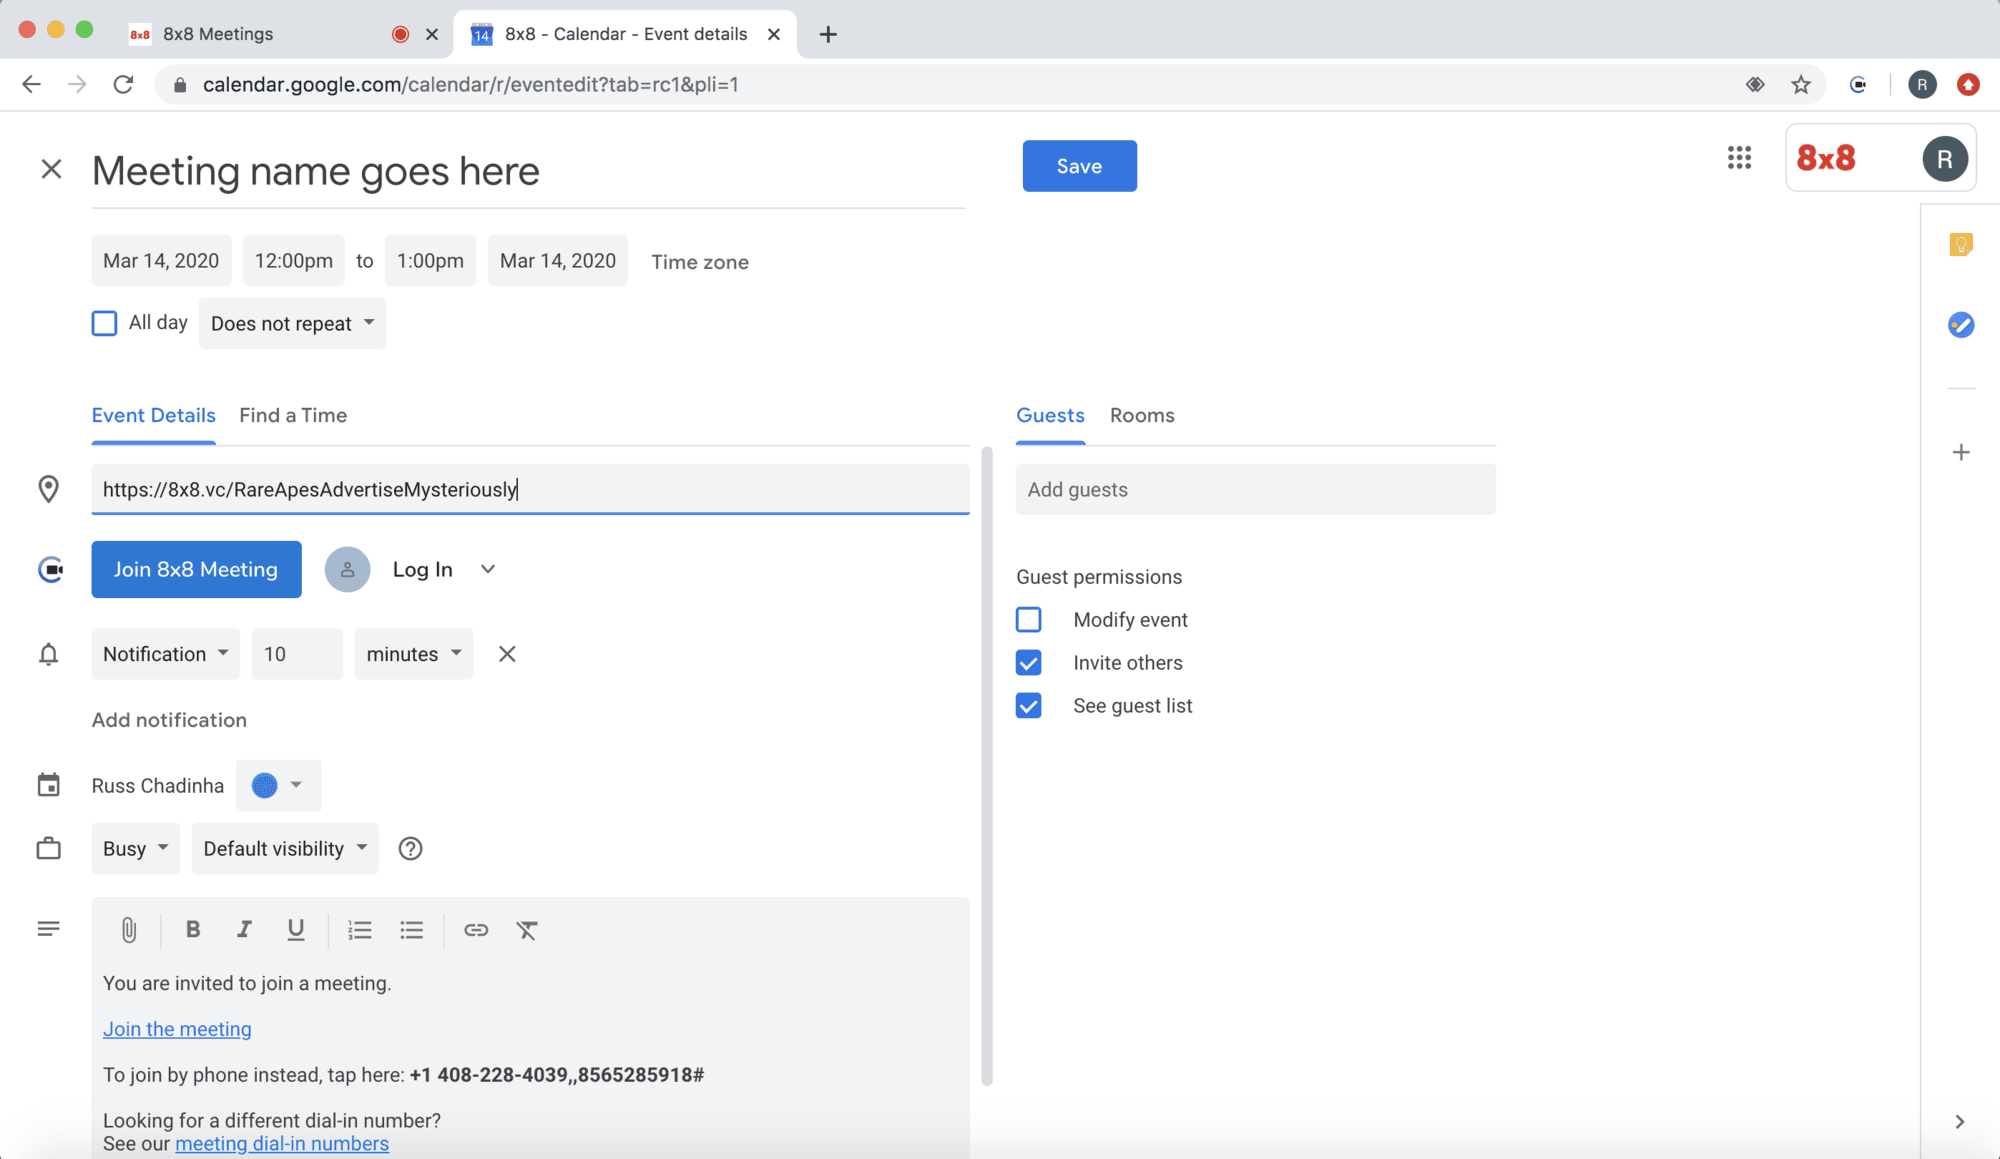
Click on "More options" to expand the meeting details view:
Simply click on "Add 8x8 Meeting" and all of the class access details are instantly added to the meeting within the calendar. Anyone invited to the class will be able to join by clicking on "Join the meeting".
You can send the class invite to students using email. From the meeting screen, select this icon in the lower right corner of the screen:
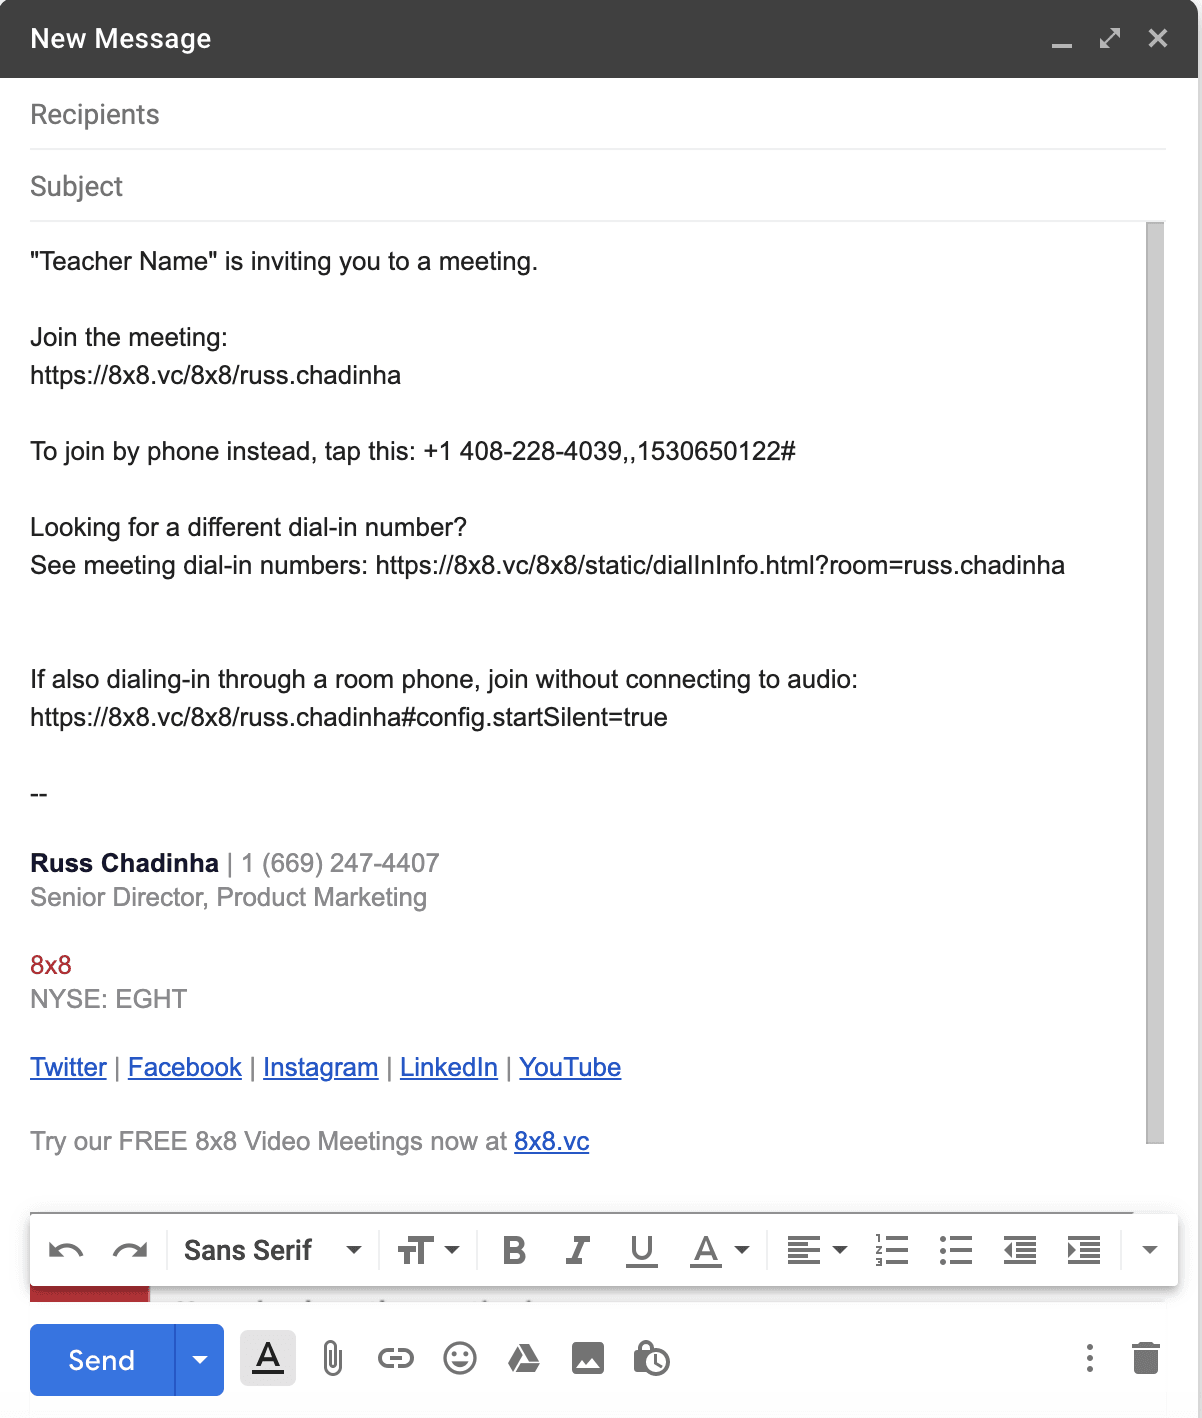
It brings up the class details:
Click "Copy".
Now you can start an email and paste these video class details into the body of the email:
Students will be able to click on the link in the email and join the class.
When it comes time to start sharing content for the lesson, there are three preparation points to consider:
Here's an example. You want the students to access content on Google Classroom and a website during the lesson. You can gather that information in the form of links to make them ready to paste into the chat.
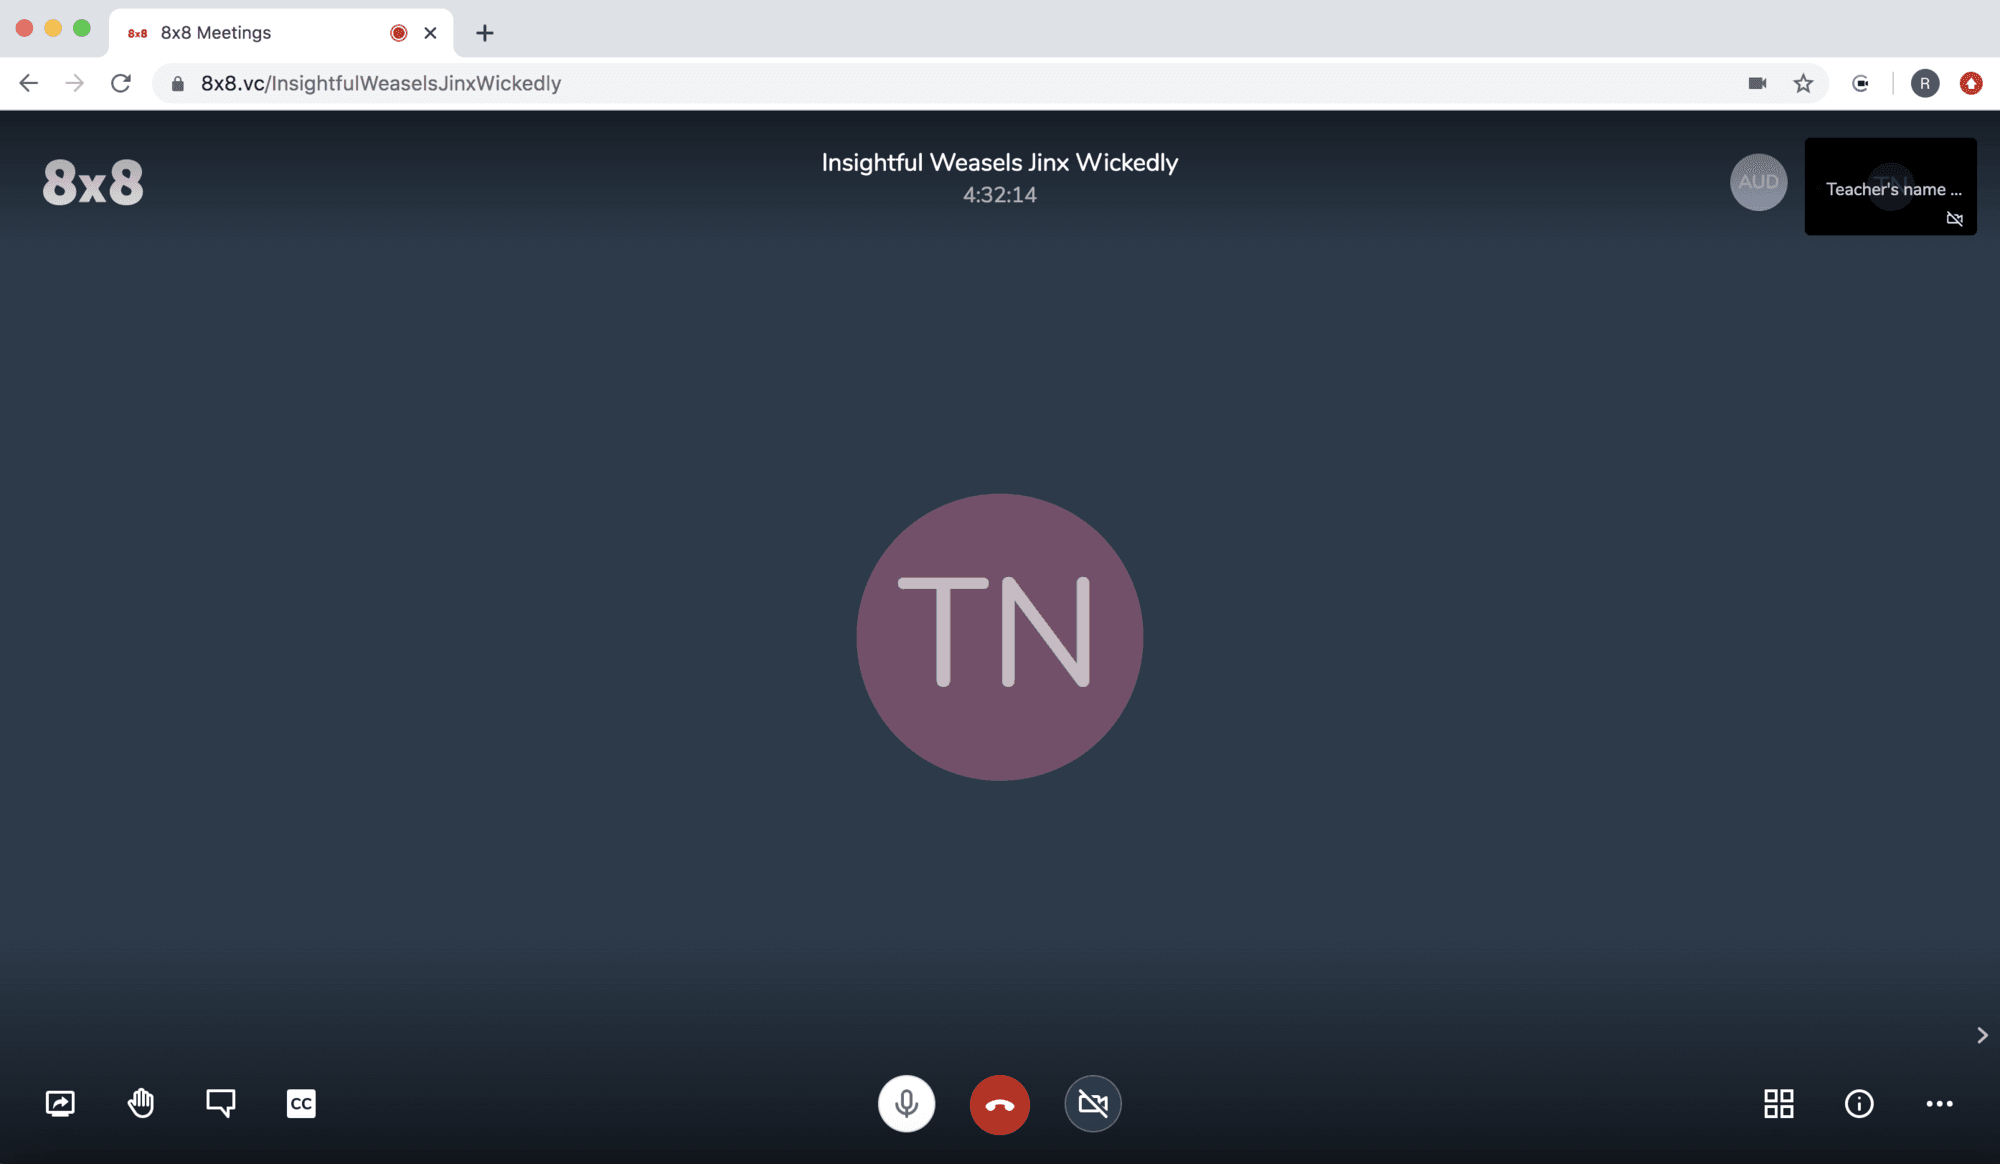
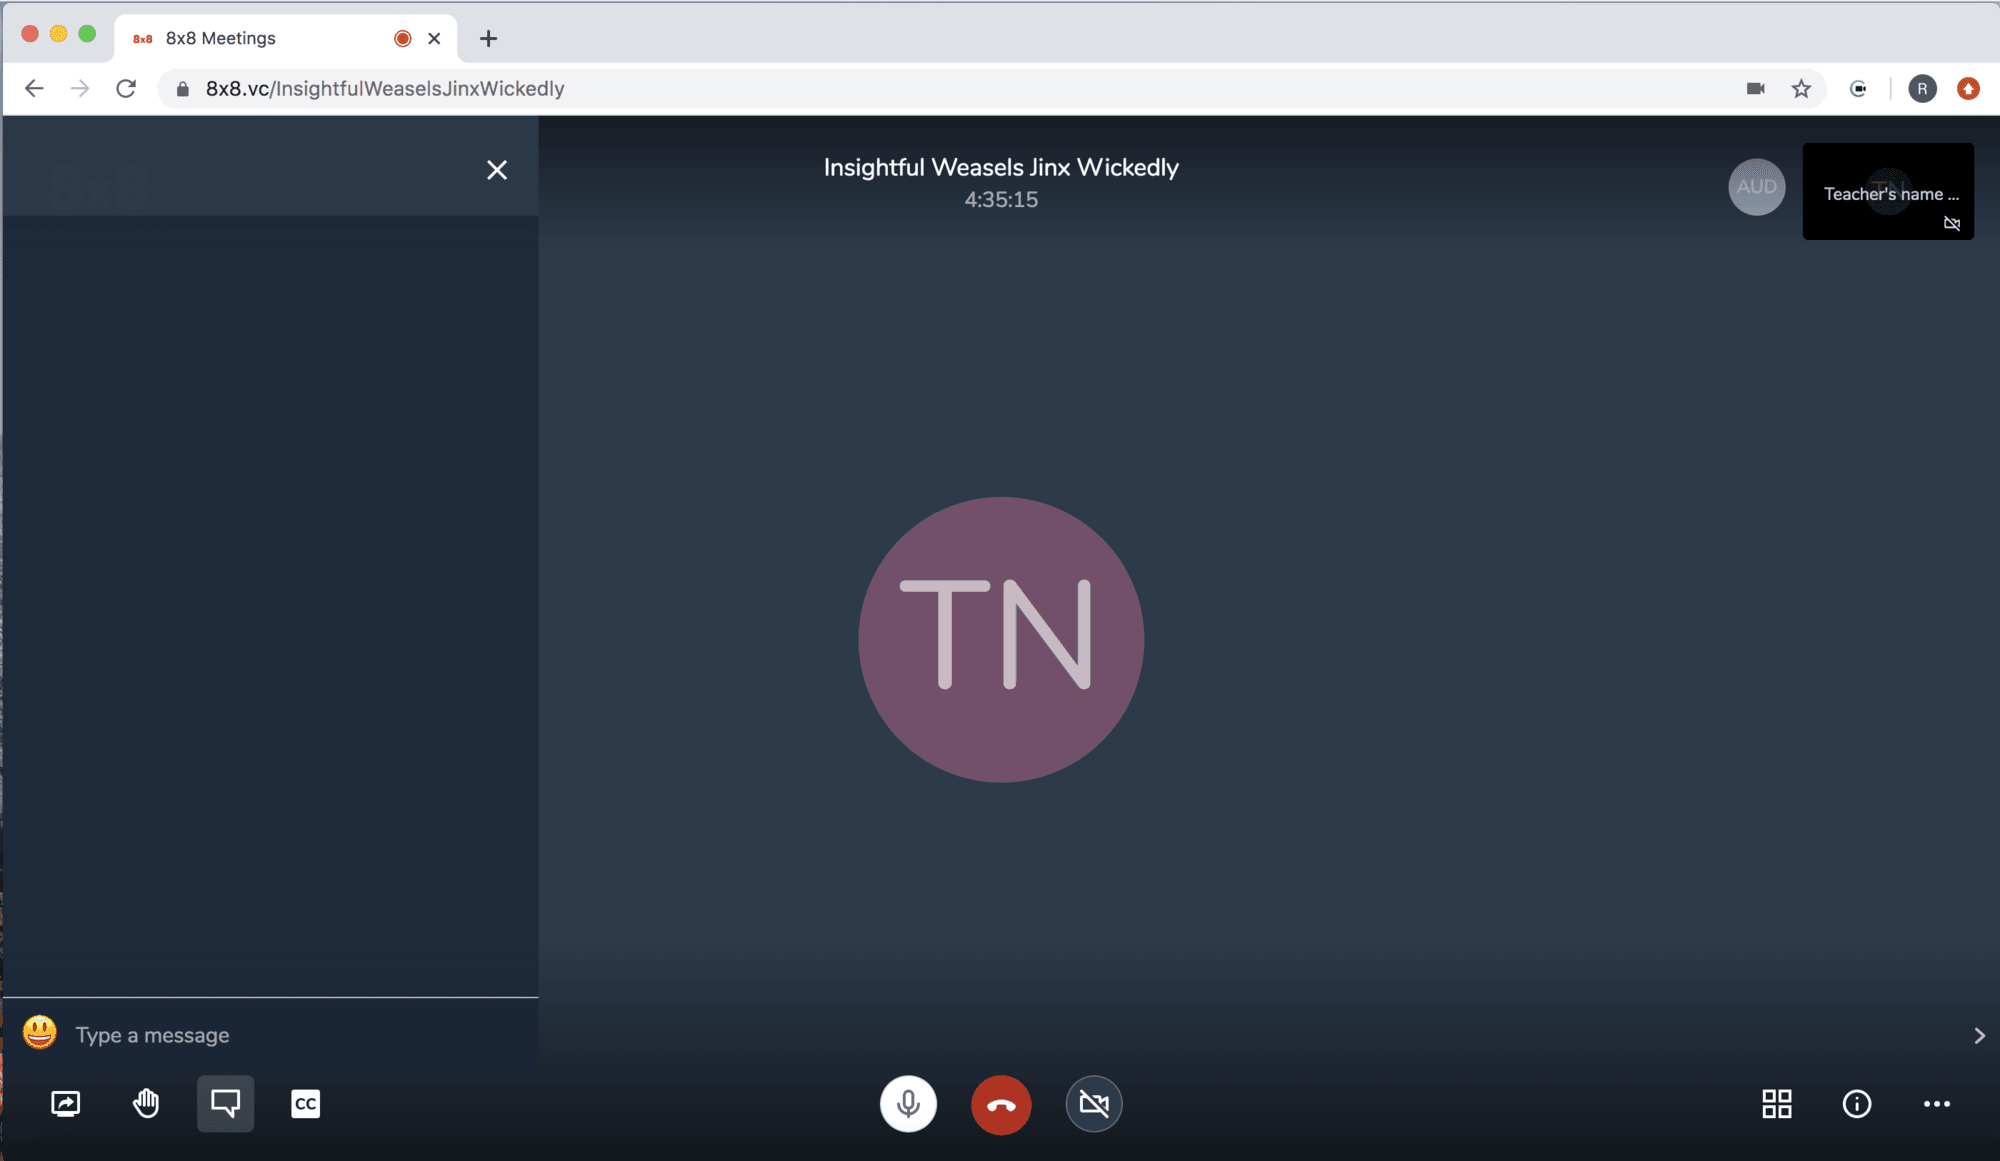
This information can now be easily added to a chat room. To practice, start a meeting:
Open the chat window by clicking on this icon located in the lower left corner of the screen:
Now the chat window is open:
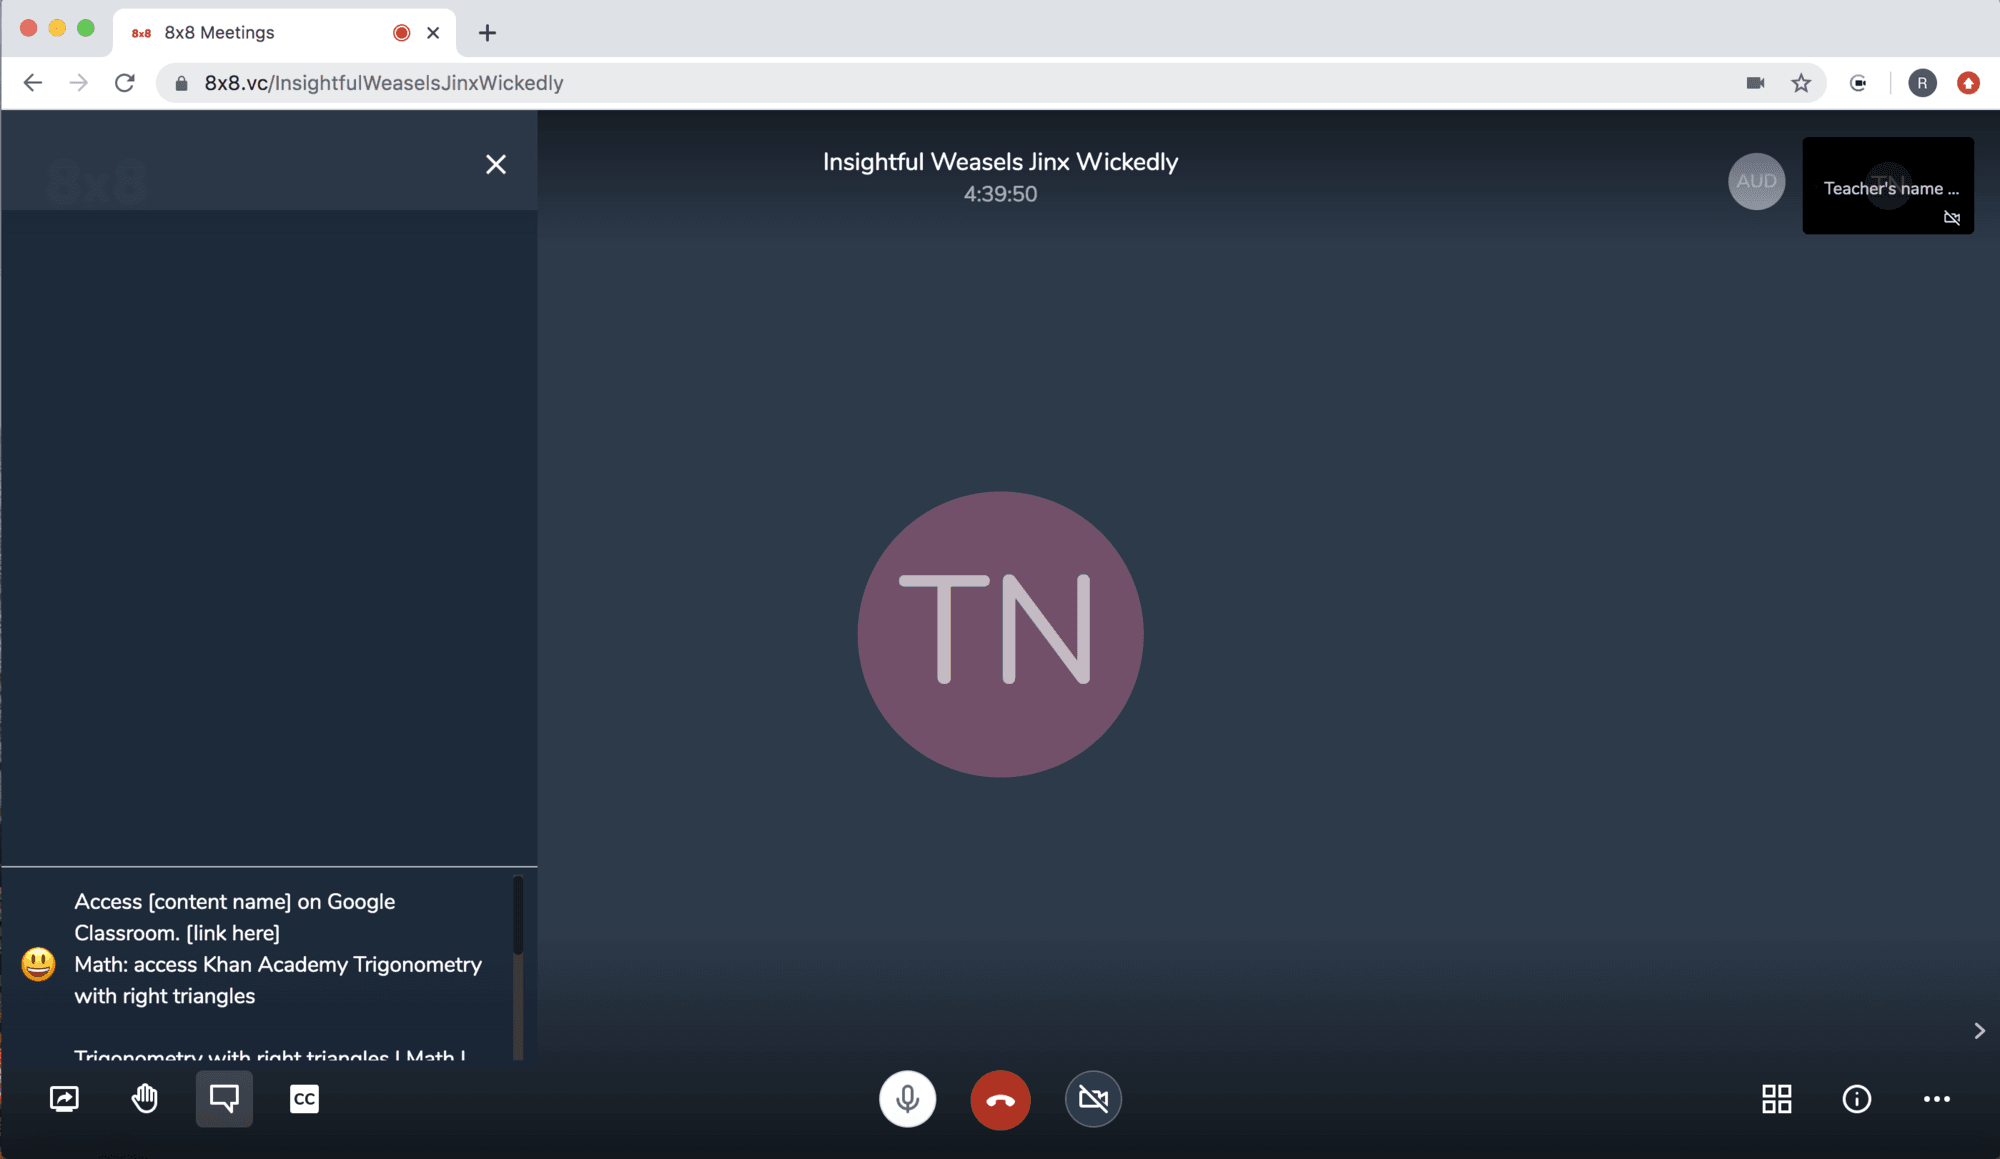
Copy and paste the information into the lower left corner where it shows "Your message":
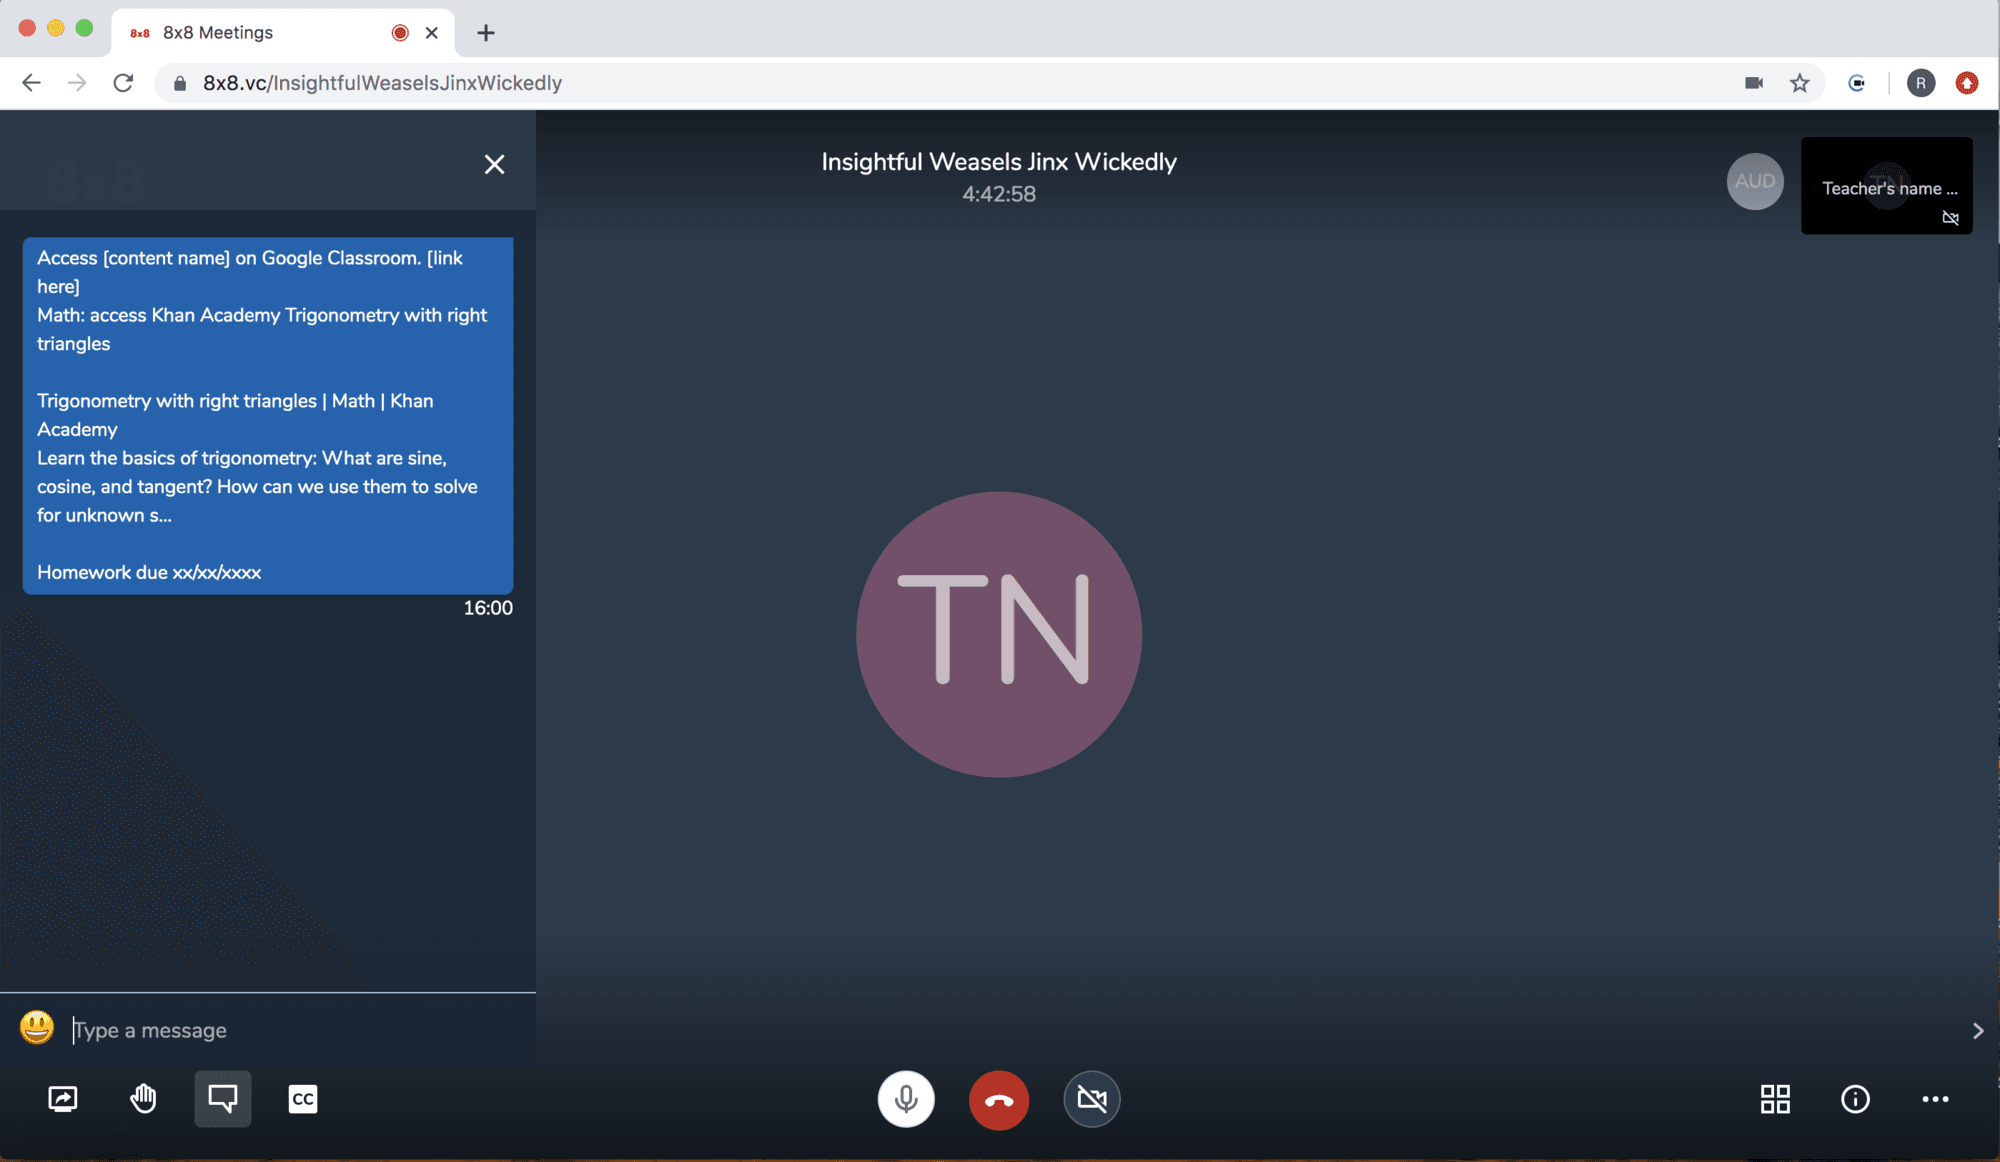
Press the "Enter" key and your information will be posted to the chat:
You can share any information that is available from your computer. Here's an example of sharing a Powerpoint slide and web site. Have your Powerpoint slide and website open on your computer. Click on this icon in the lower left corner of the screen:
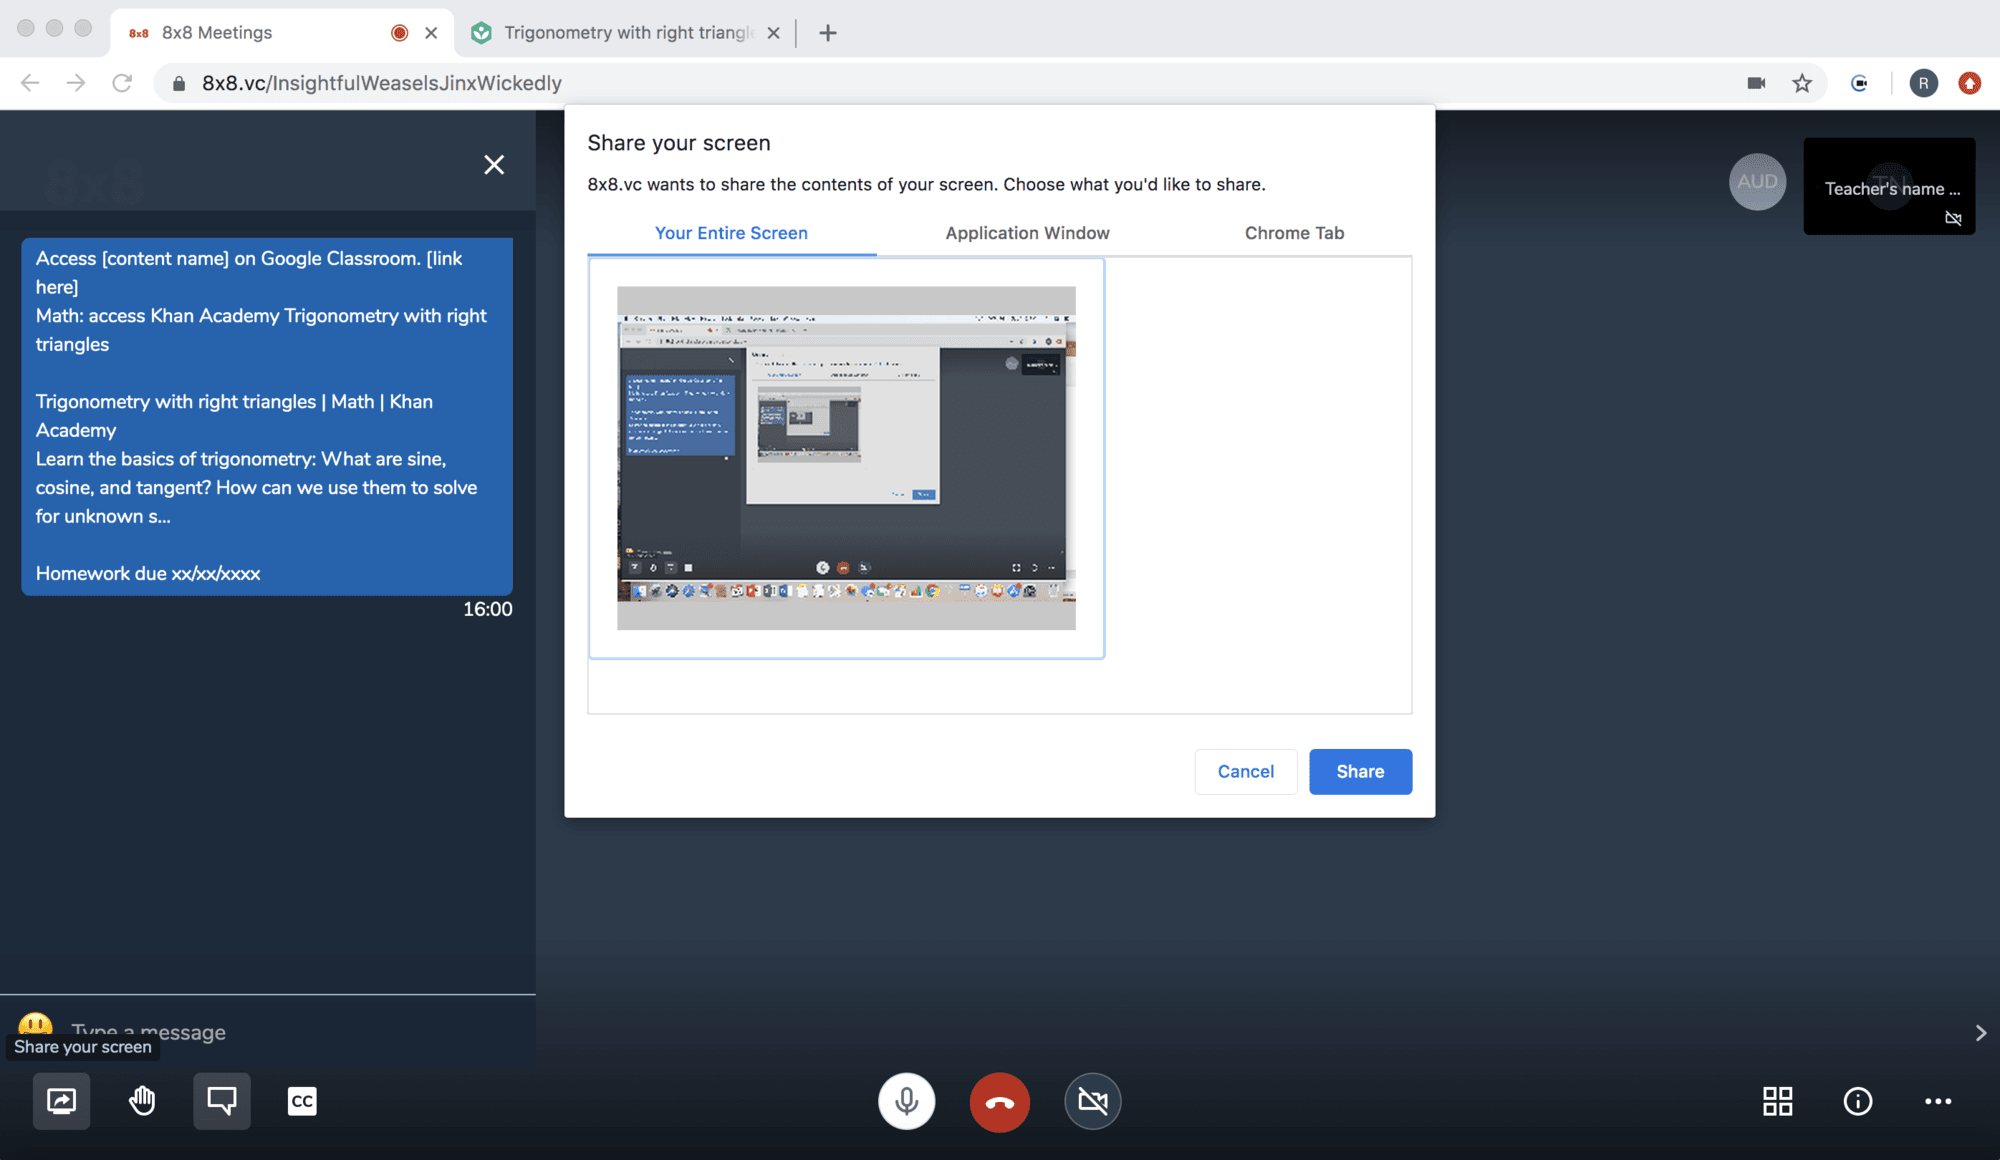
This opens the sharing options:
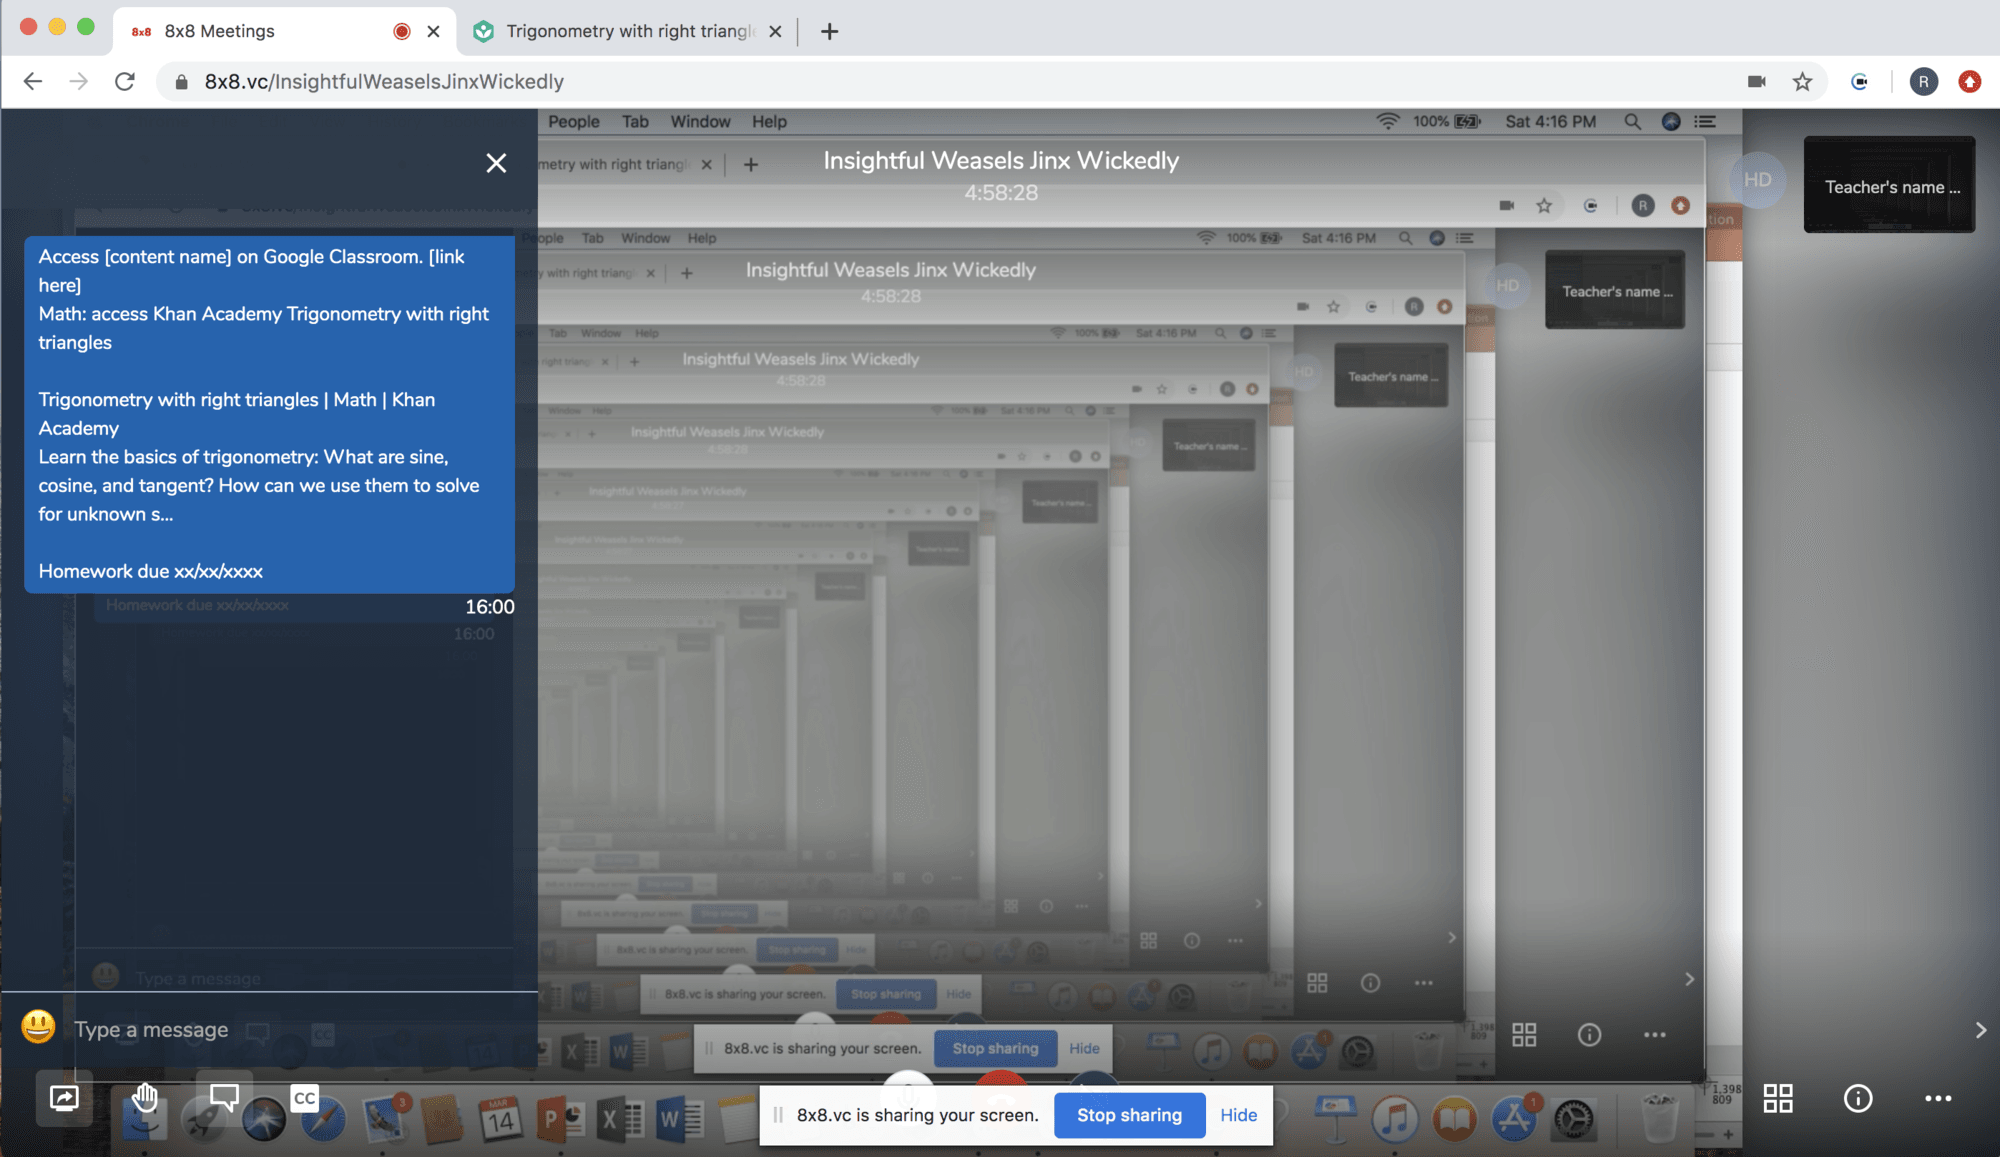
To share different forms of content, in this example PowerPoint and a web page, select "Your Entire Screen", click on the image and then click "Share". You will get a screen that looks like this - no worries, nothing is broken:
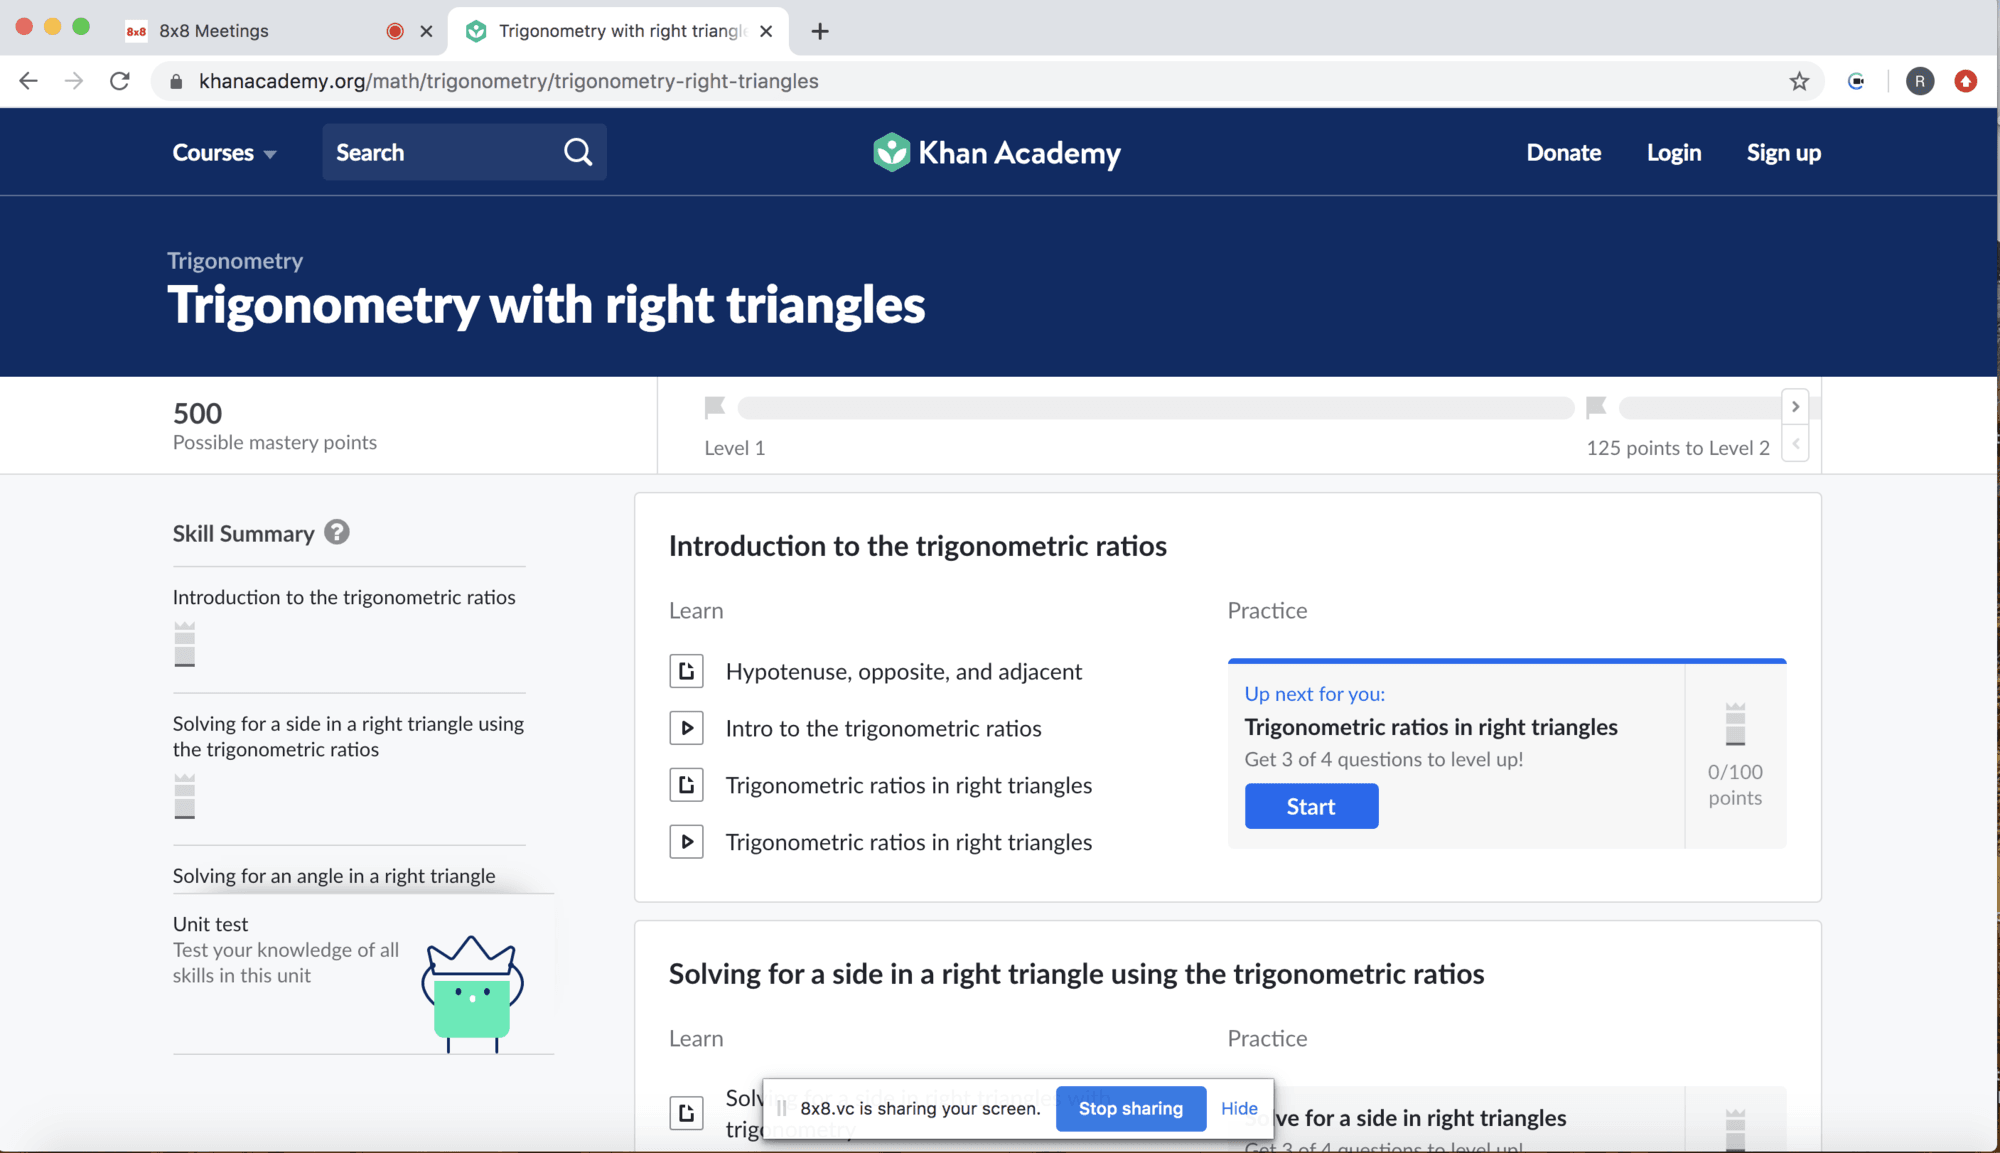
Simply select the content you would like to share and it will be presented. Lets start with the web page. Click on the tab at the top to access the web page you would like to share:
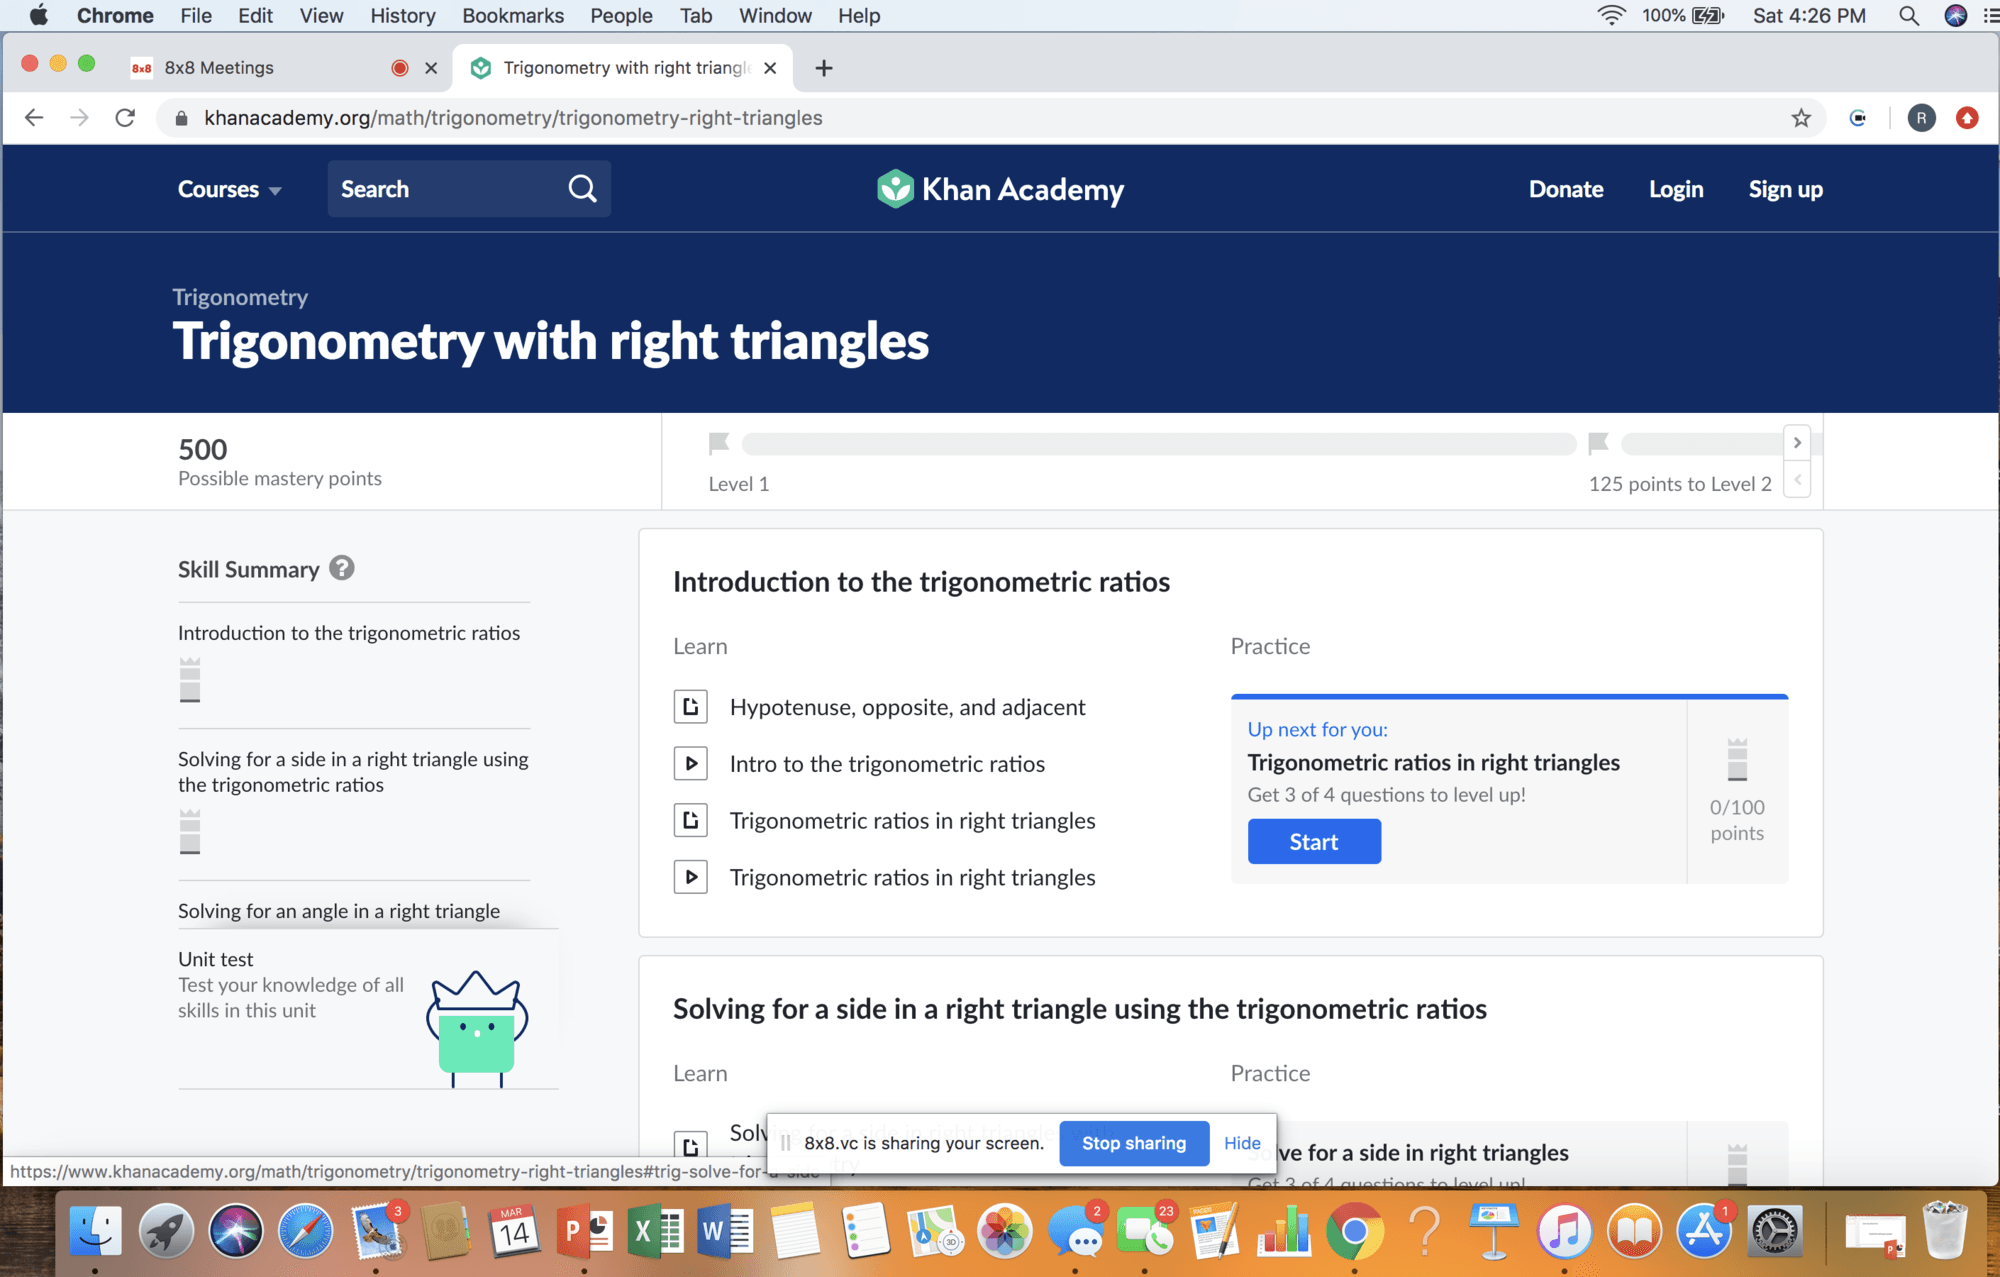
Here's what the students are now seeing. The note at the bottom of the screen tells you that you are sharing what's on the screen. Now you can select PowerPoint to start presenting that content. Click on the PowerPoint icon at the bottom of your screen:
Now the slide is showing:
Notice the screen sharing indicator is still present at the bottom of the screen so you know this material is what the students are currently seeing. To stop sharing and return to the class main window, select "Stop sharing".
To encourage interaction during the lesson:
Key links: